I finally got tired of using Hdx storage crates from Home Depot and reusable shopping bags for my trips… Home depot organizers are great for home storage but for on-the-move use, covers would crack and the crates being black without dividers I found myself digging through it.
I recently acquired a car-camping + tow vehicle for the trips to the track, so in effort to keep organized I decided to give Sidio Crates a try as (new post coming soon). 4th of July sale was ongoing, so I went ahead and ordered the Weather Proof 3 Pack (Utility / Smoke).
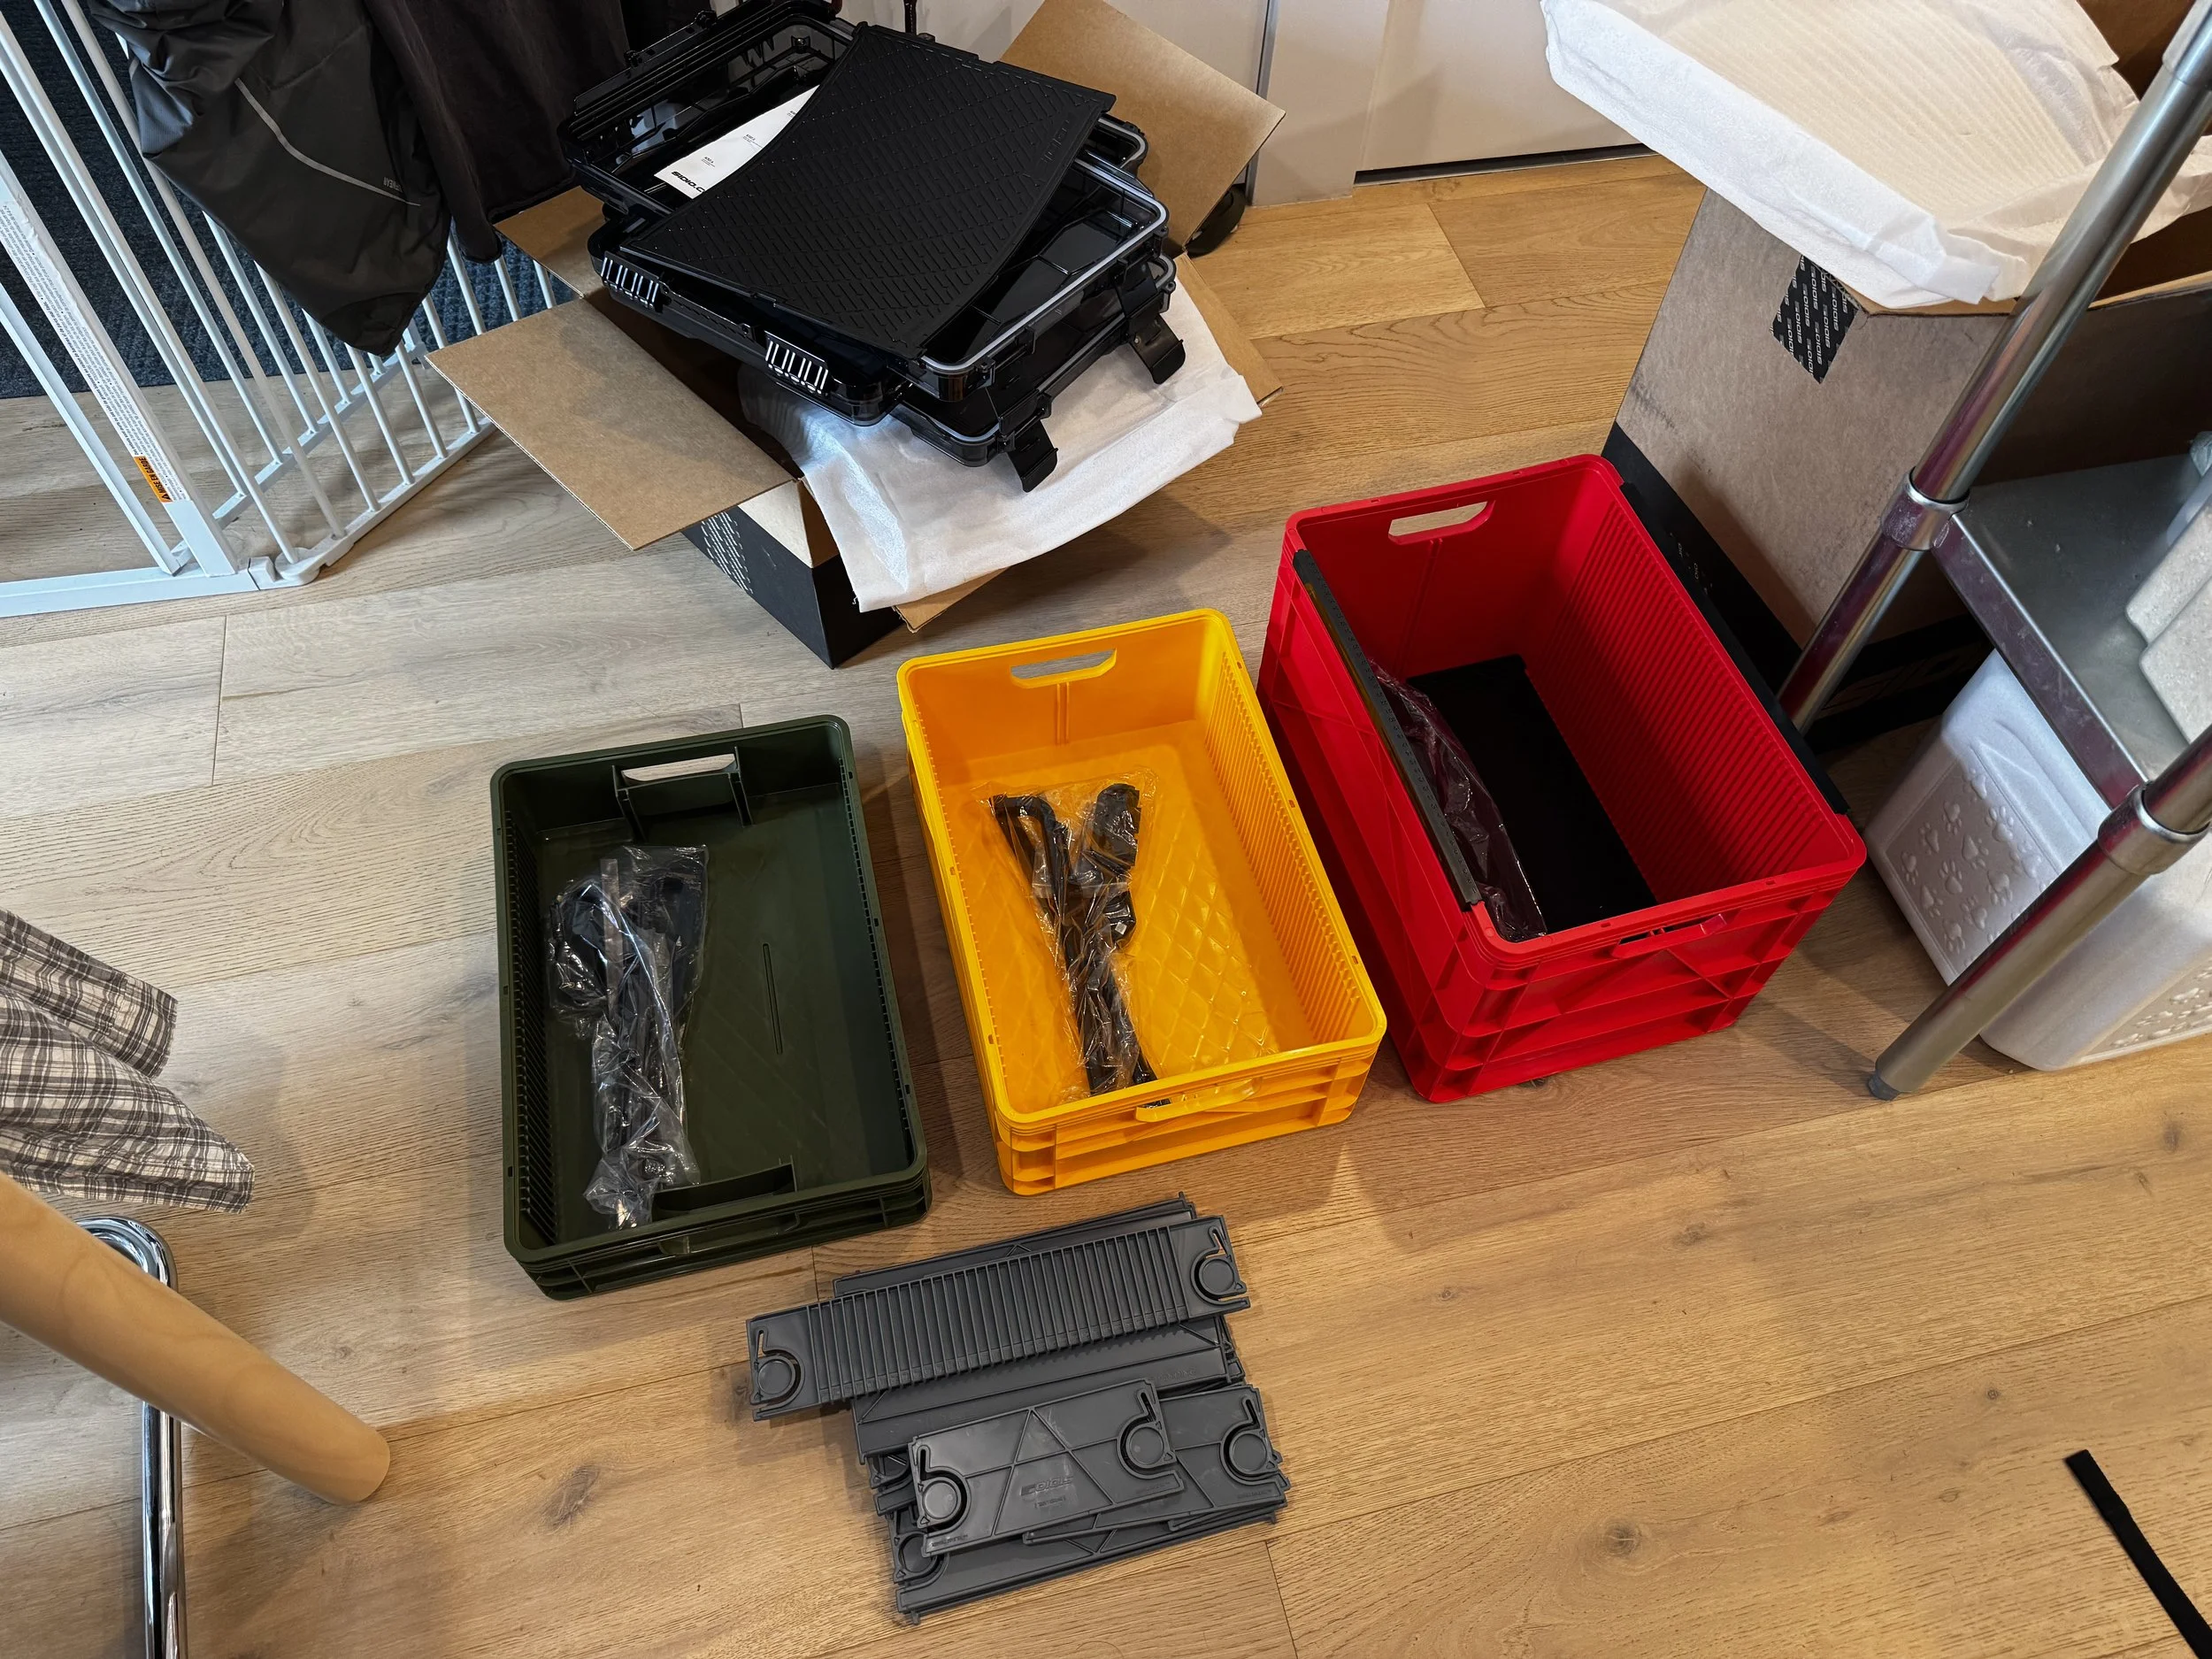
Unboxed and knolled (kind of). 1x green crate (quarter size), 1x yellow crate (half size), 1x red crate (full size)
The order shipped with three crates, smoke covers. The box everything shipped in was pretty hefty; thought to myself, oh man these are heavy.
Assembly instructions along with diagram is included. The text could be bit bigger for folks with less fortunate eyesight like myself.
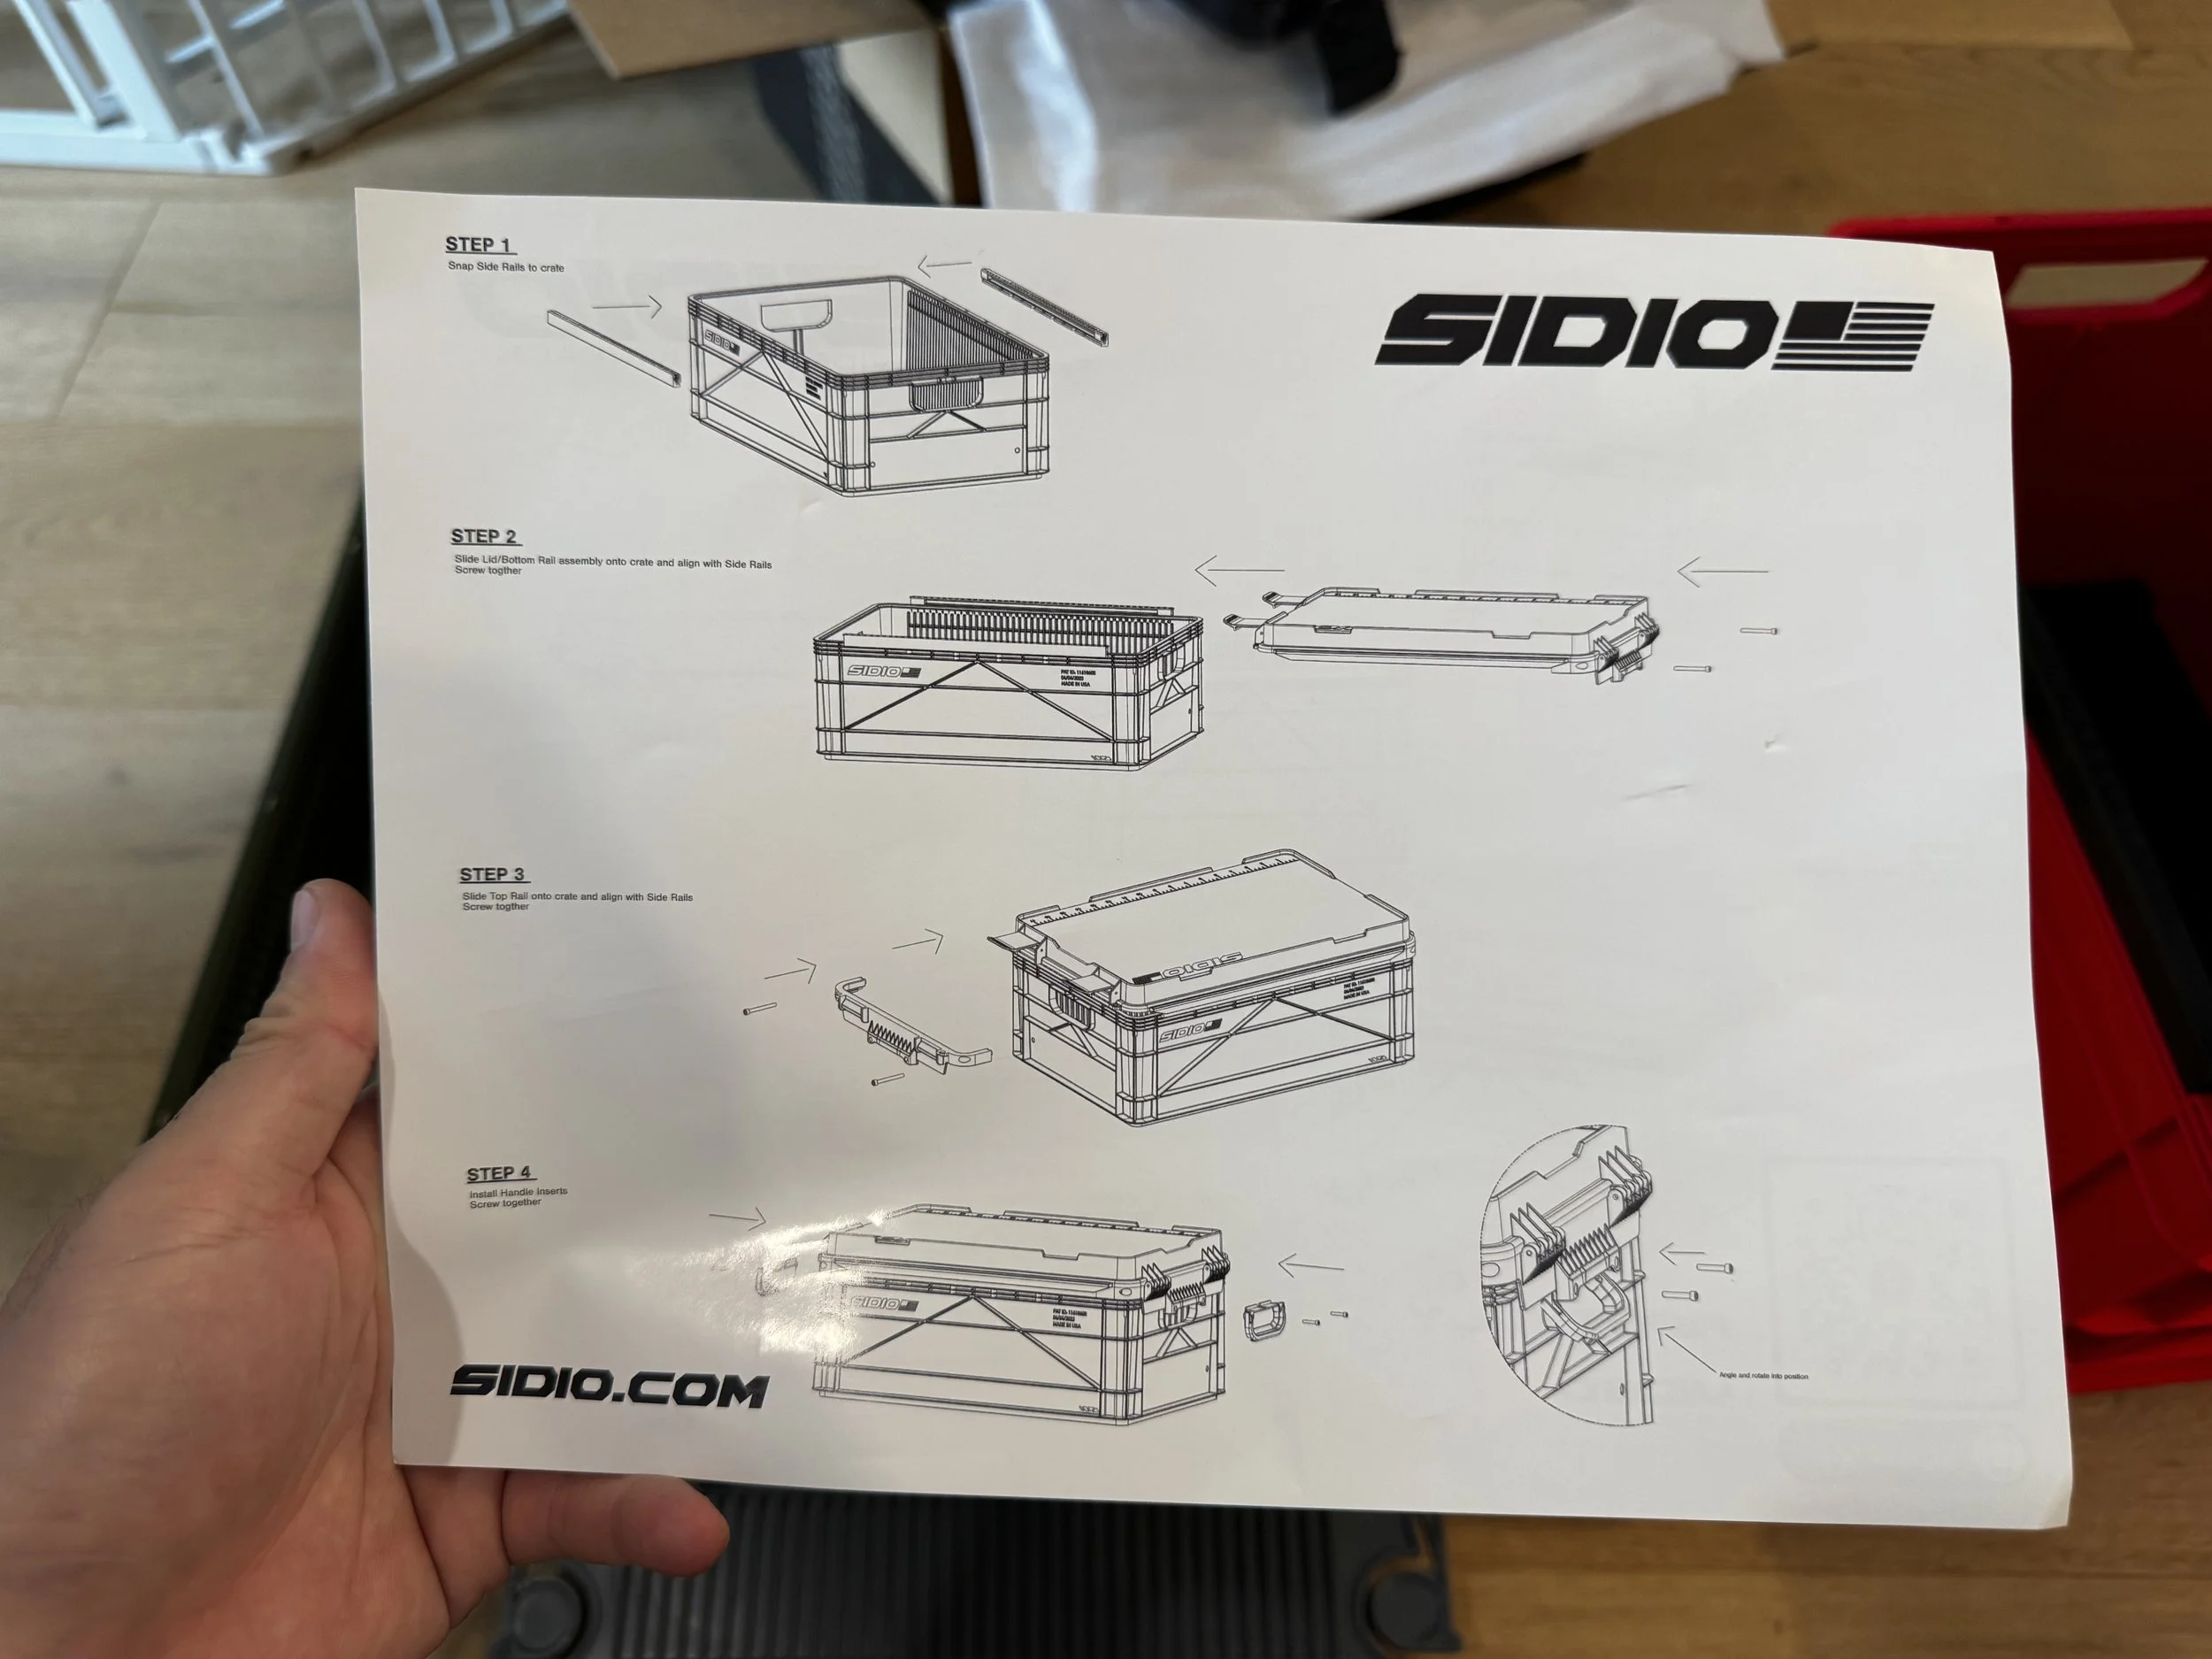
The assembly instructions
Each crate comes with the divider count engraved into interior sides, pretty nifty feature since you don’t have to count each one when putting the dividers in.
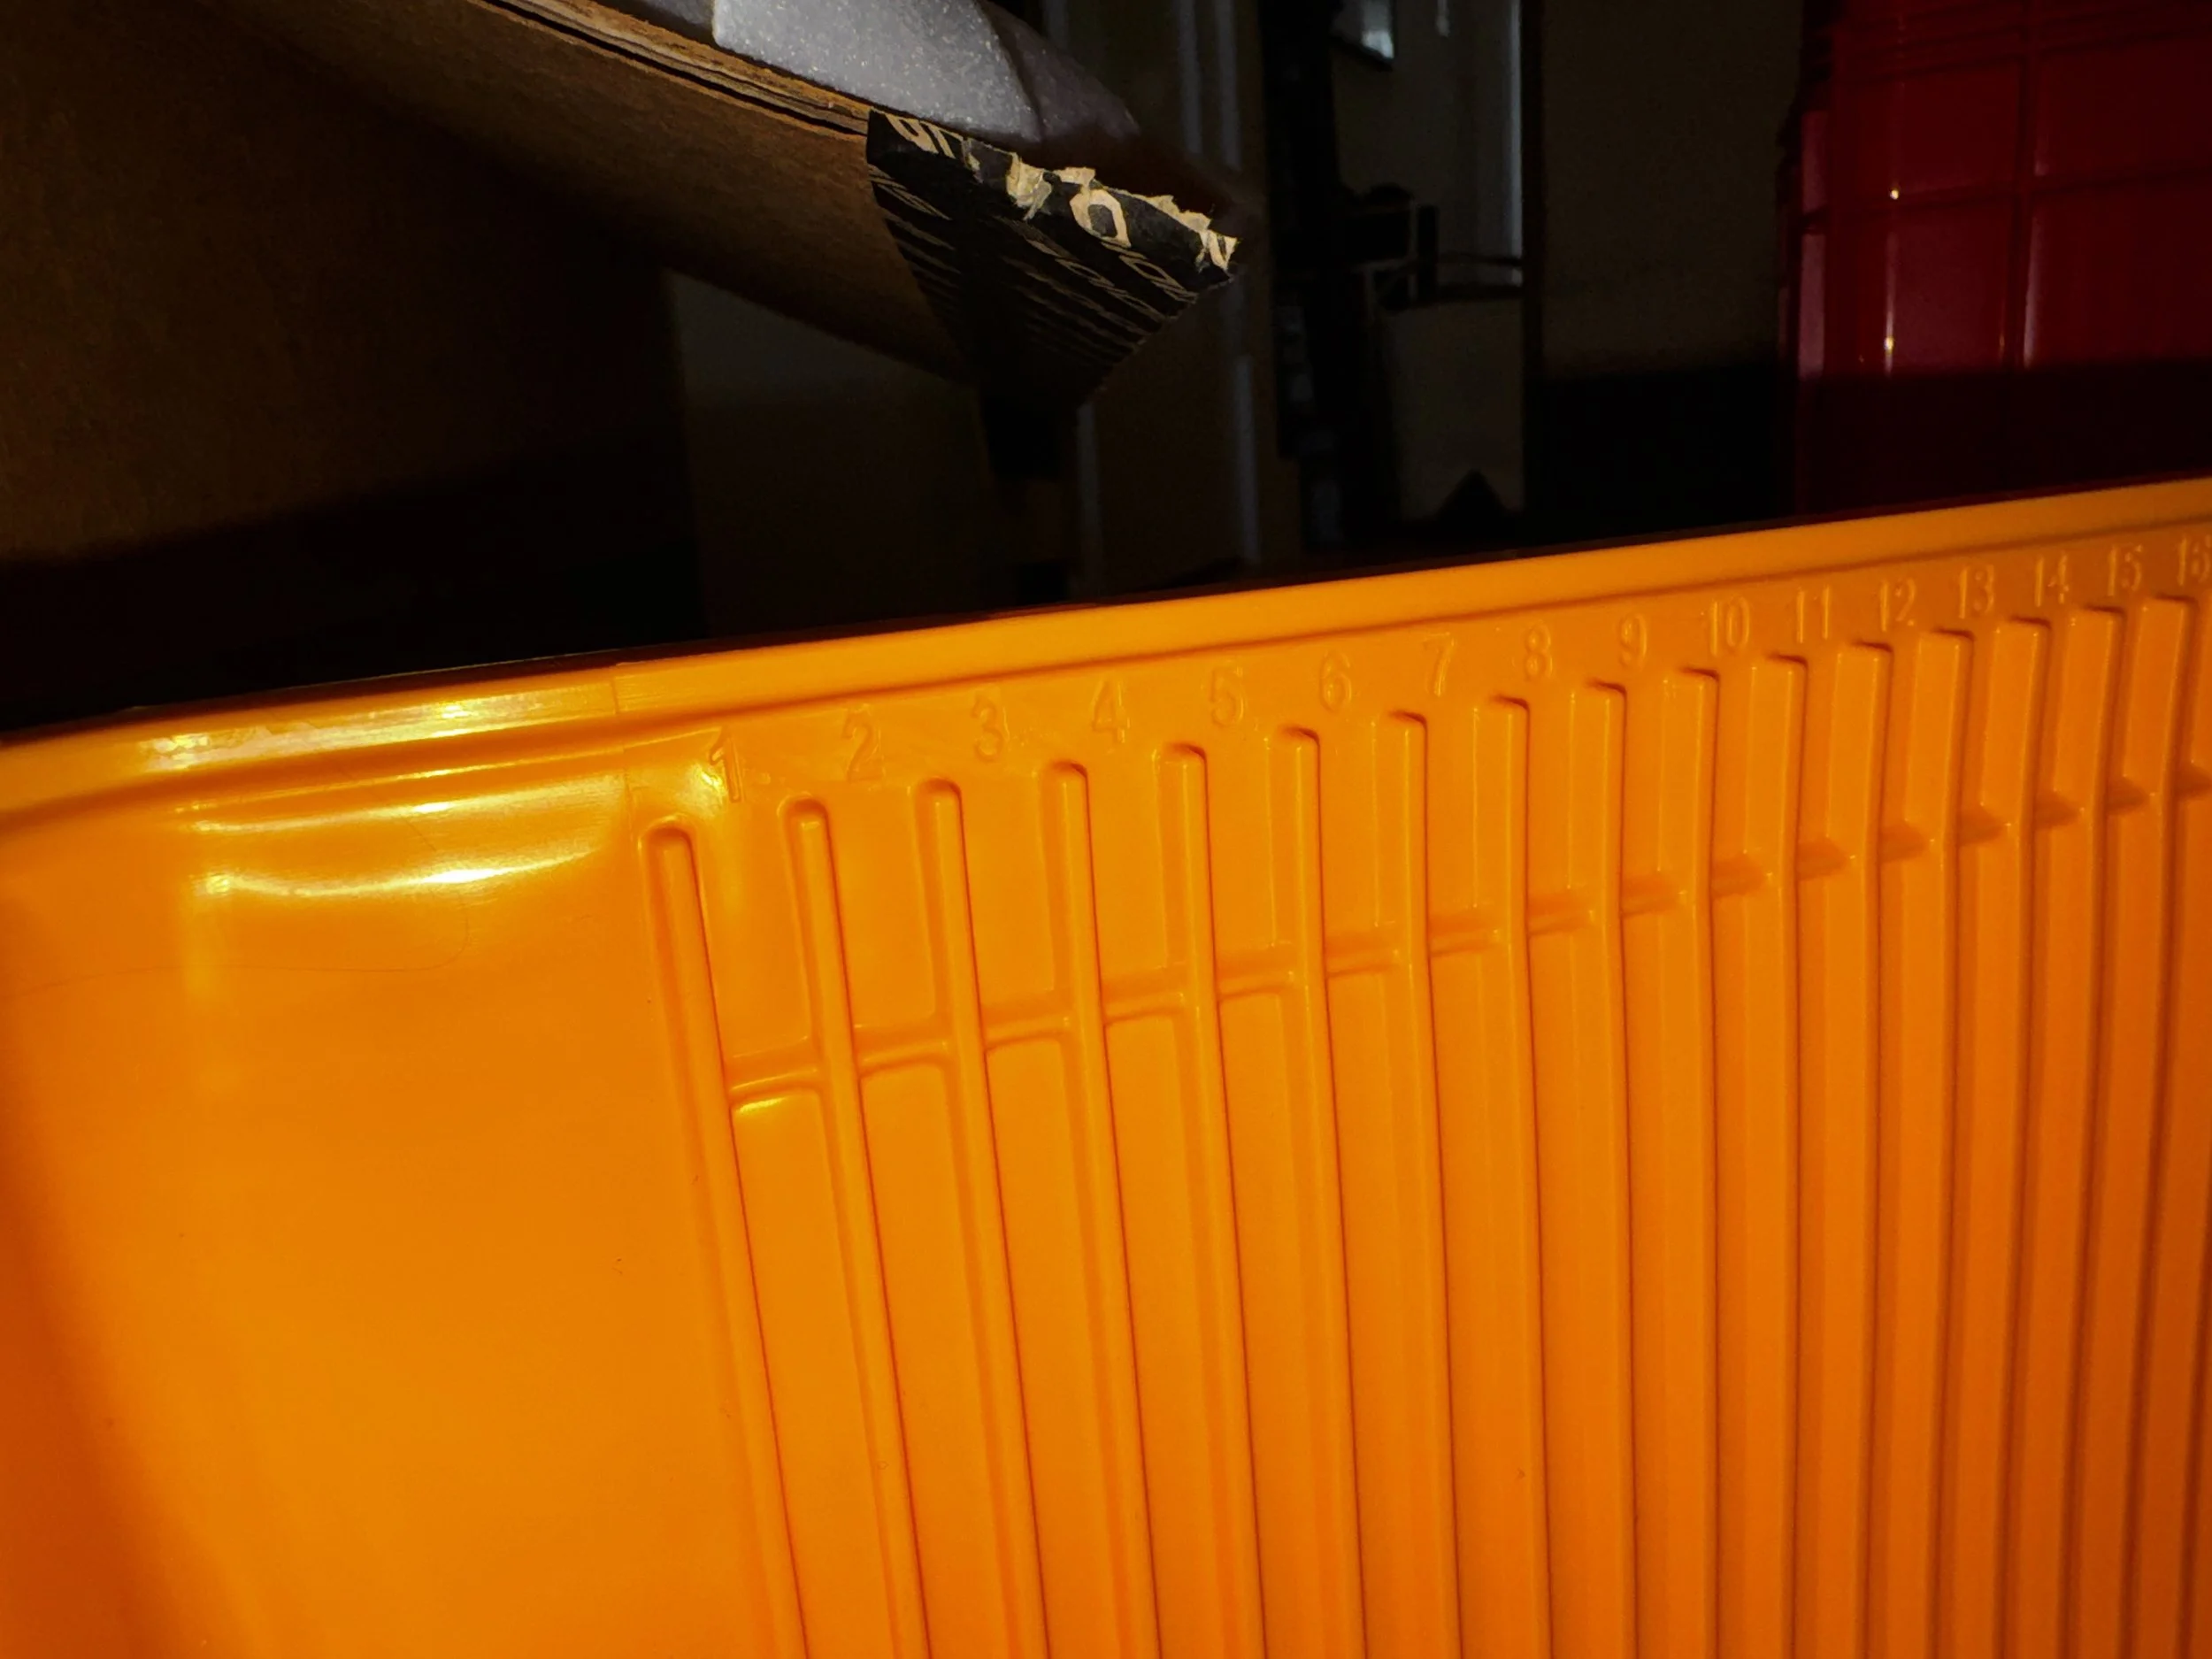
Engraved divider count markings
Each crate comes with: 2x side pieces, 1x end plate, 1x weather resistant lid, 2x handle covers, and assortment of hardware
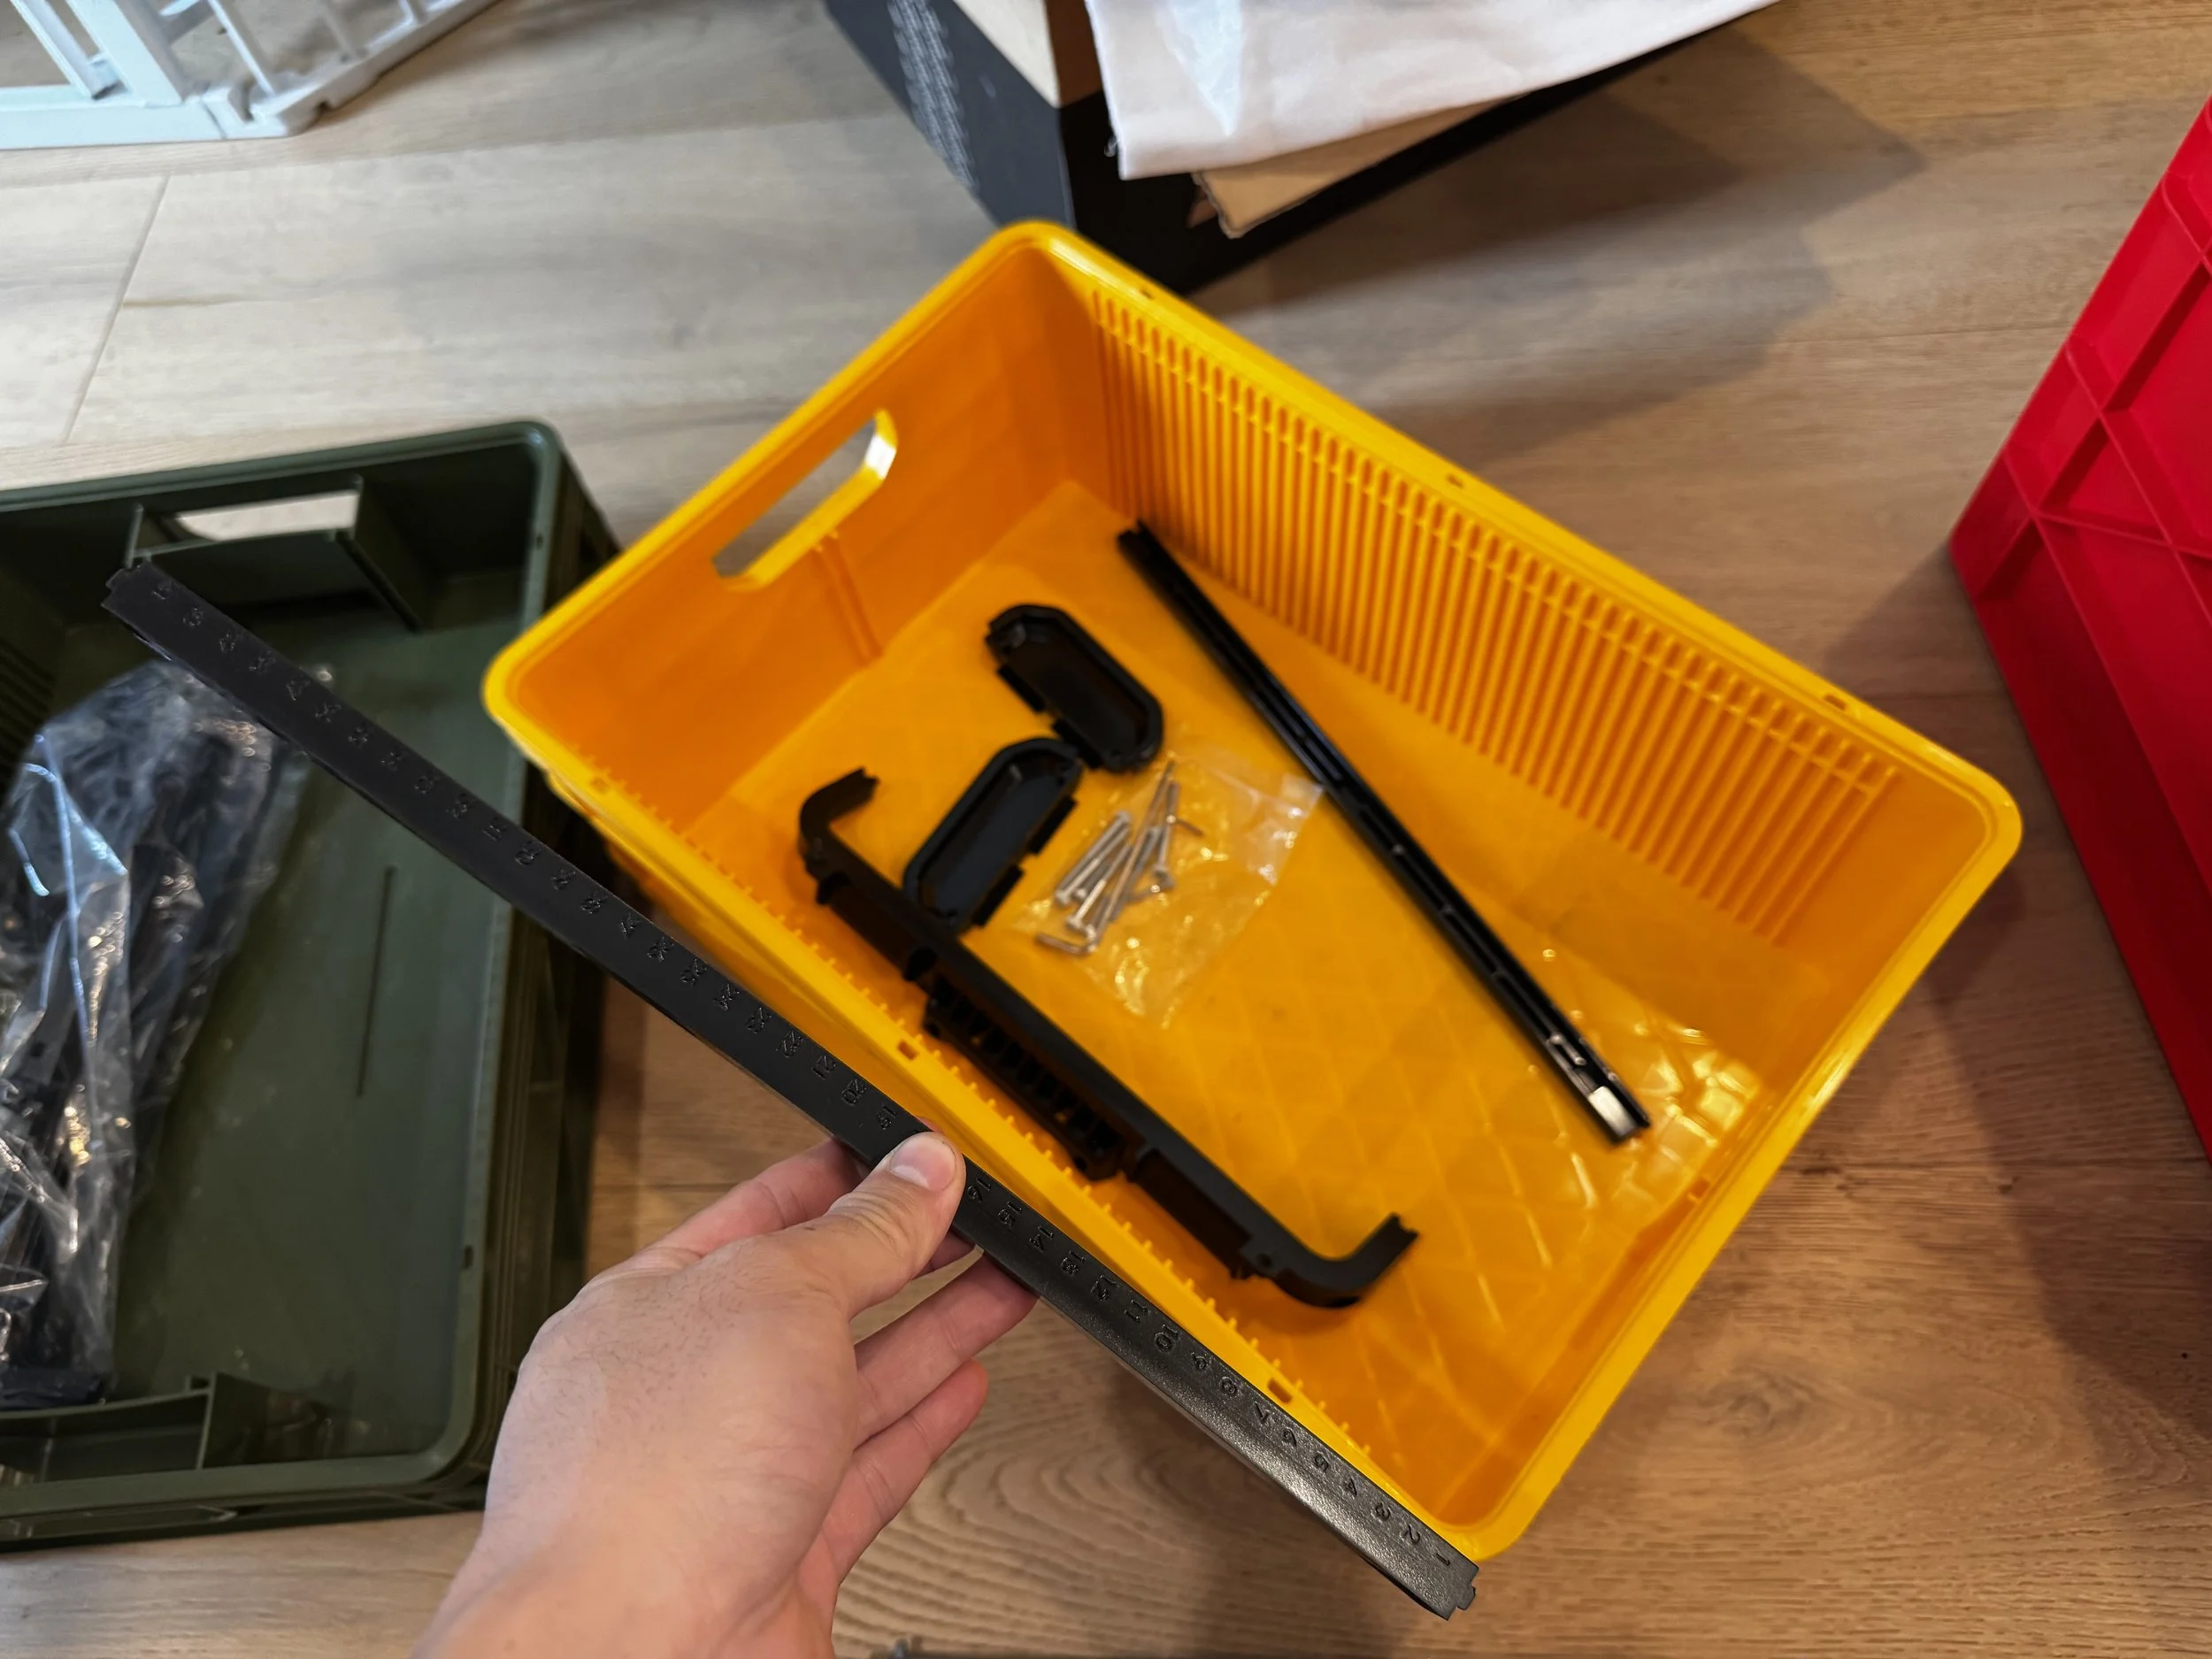
Ready to assemble!
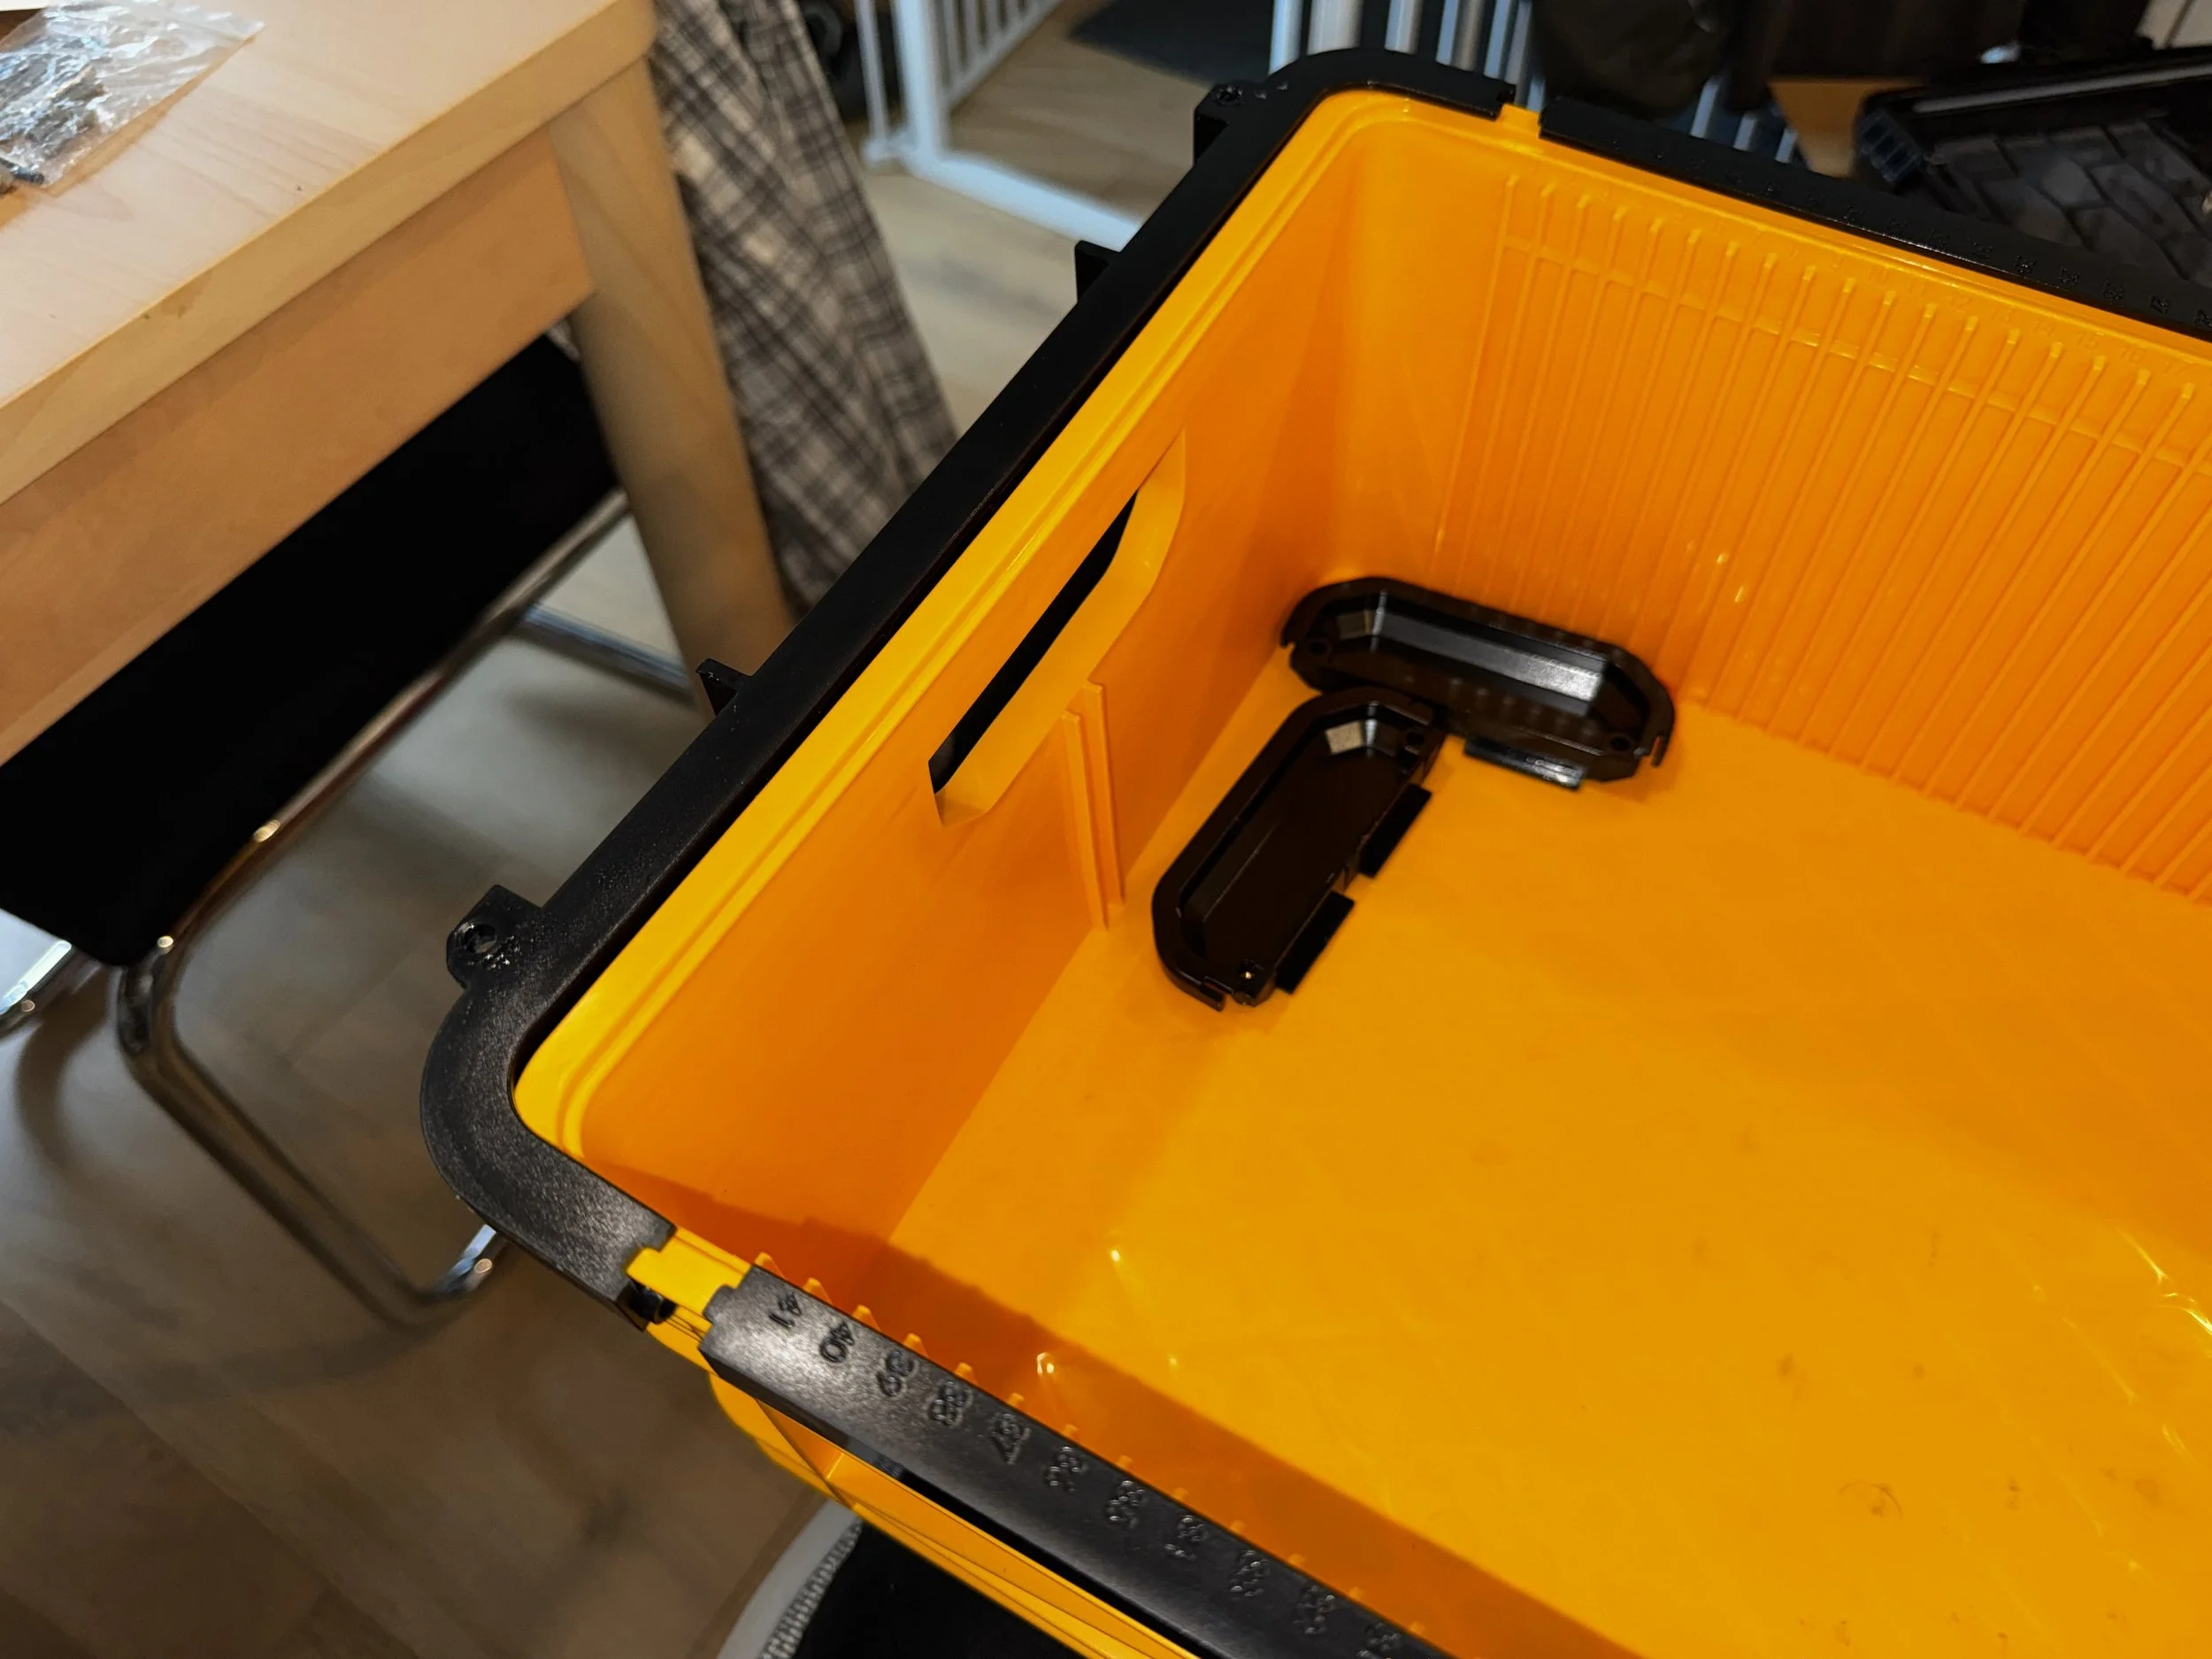
Once you attach the side pieces (there are 3x locking tabs that line up and clip into the 3x holes on the crate), next step is to slide on the end piece and the lid to drive the bolts in.
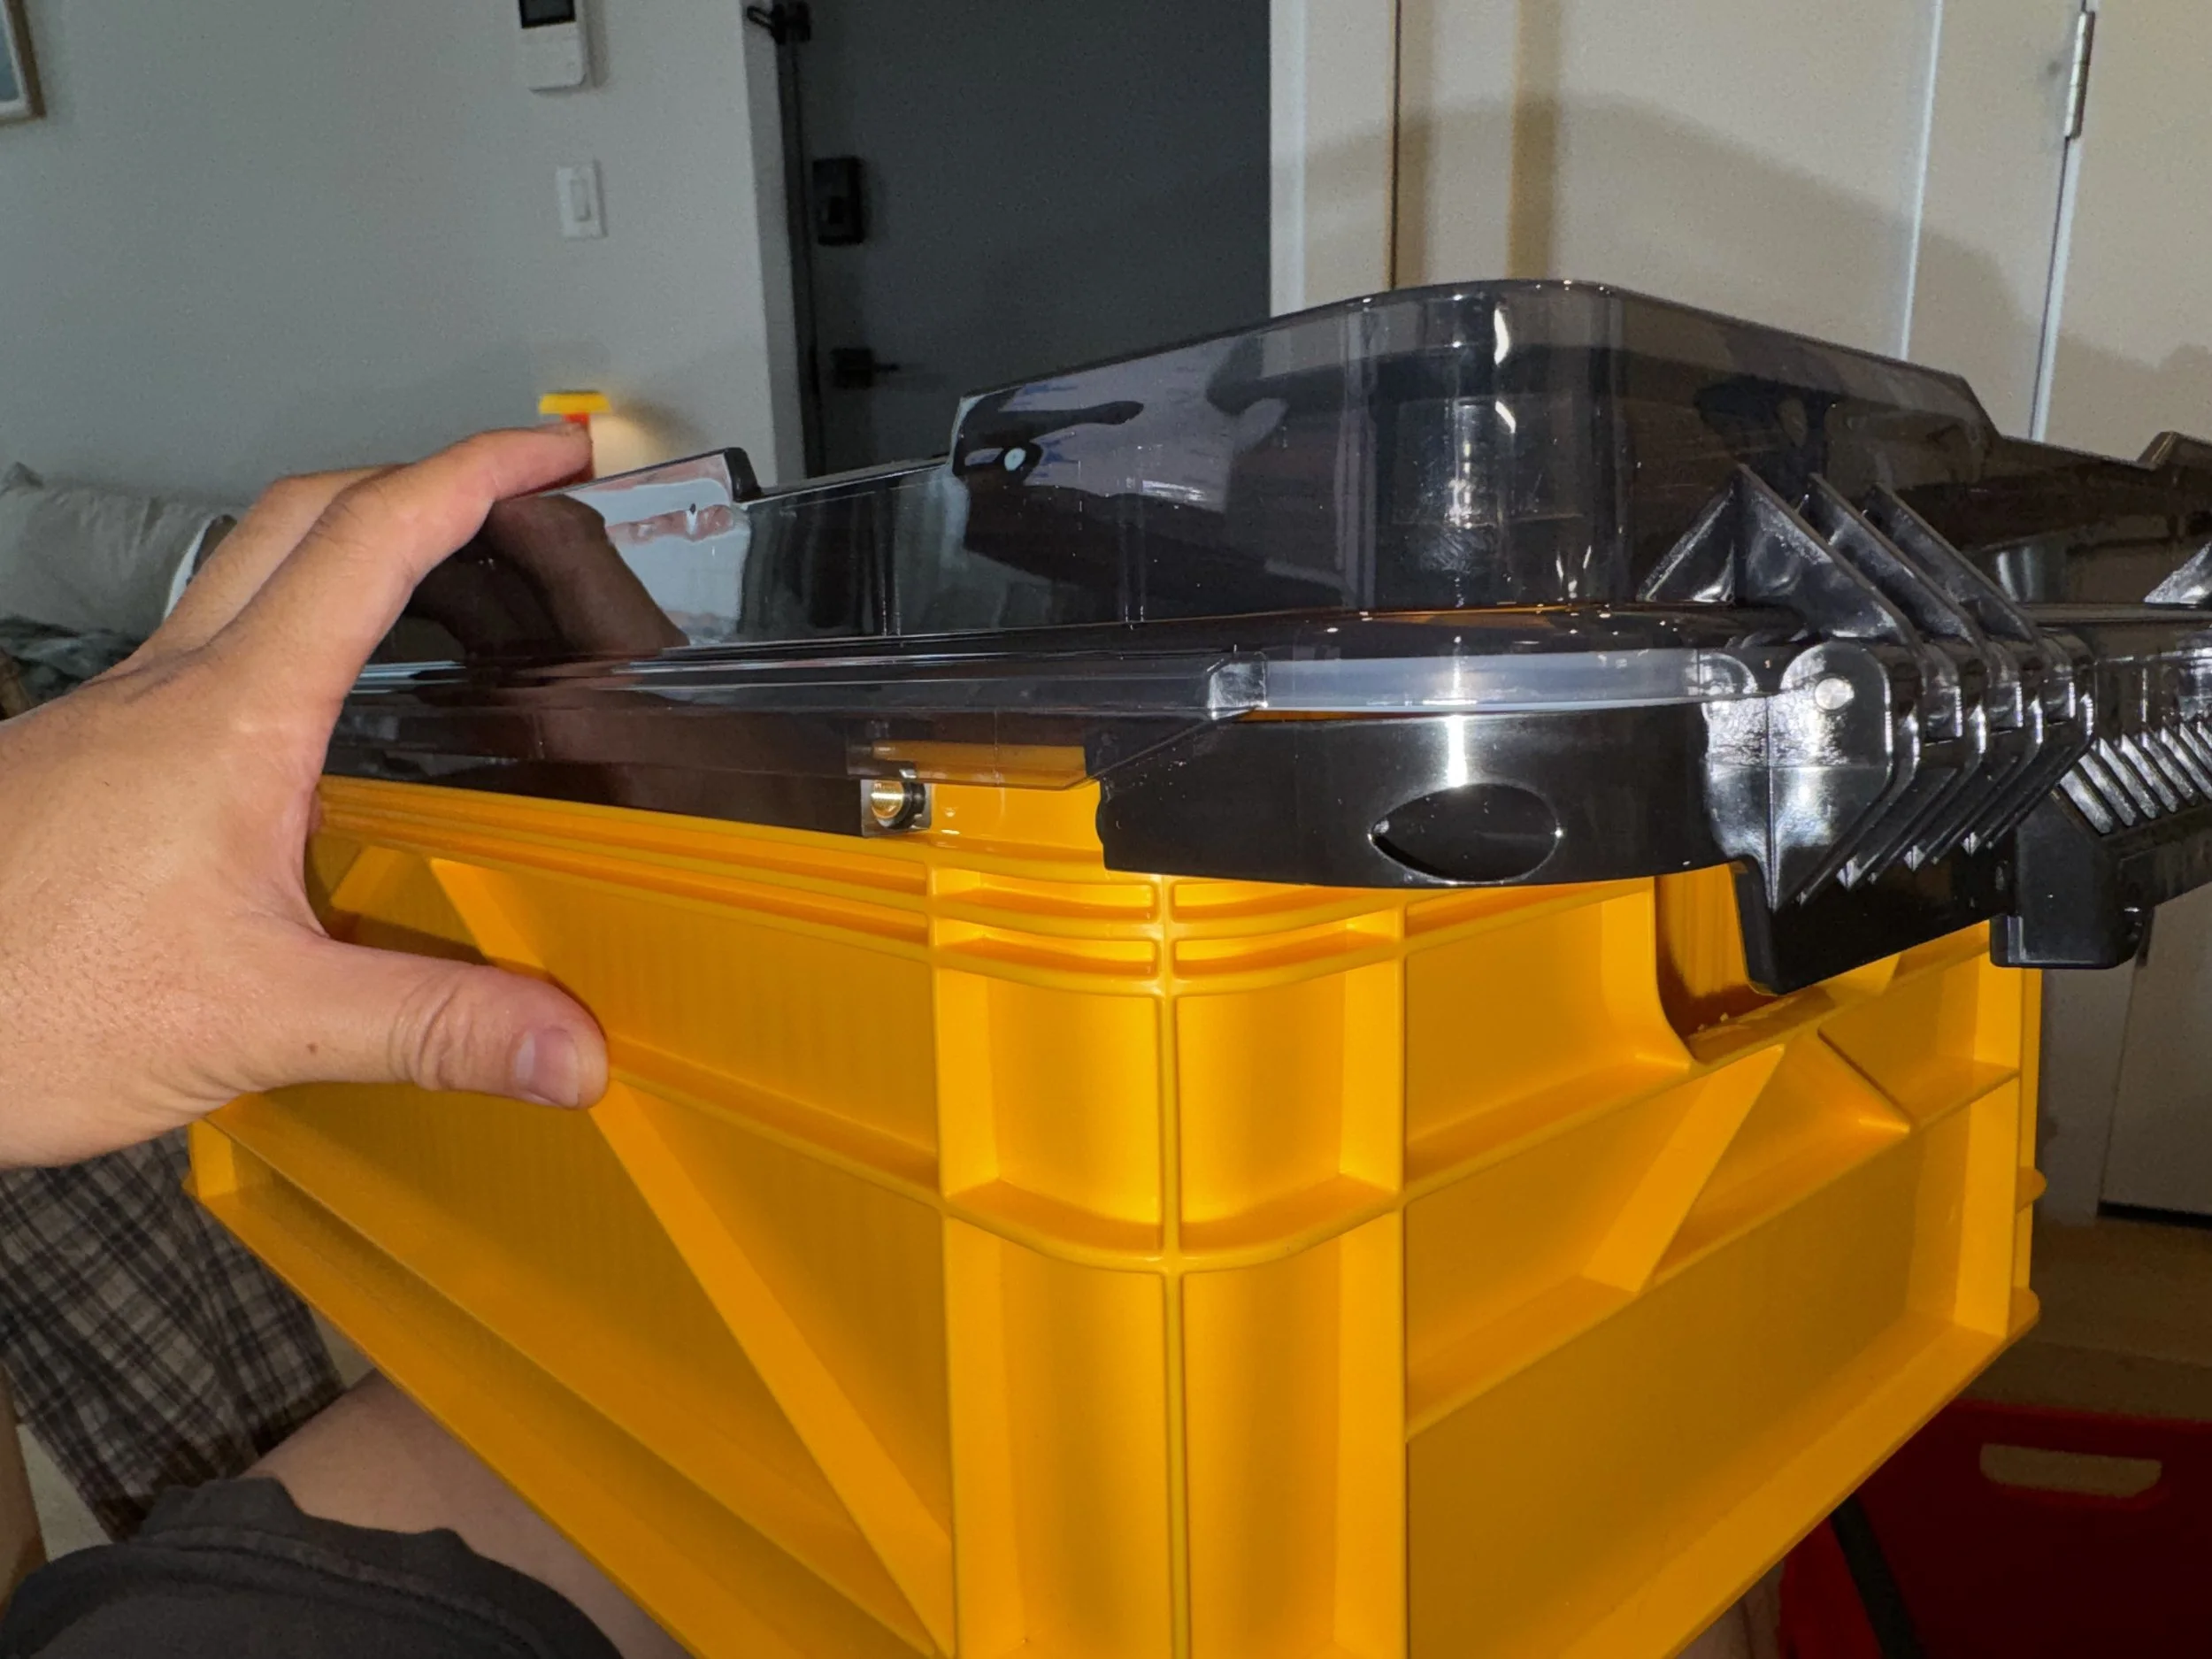
Sliding on the lid from one end
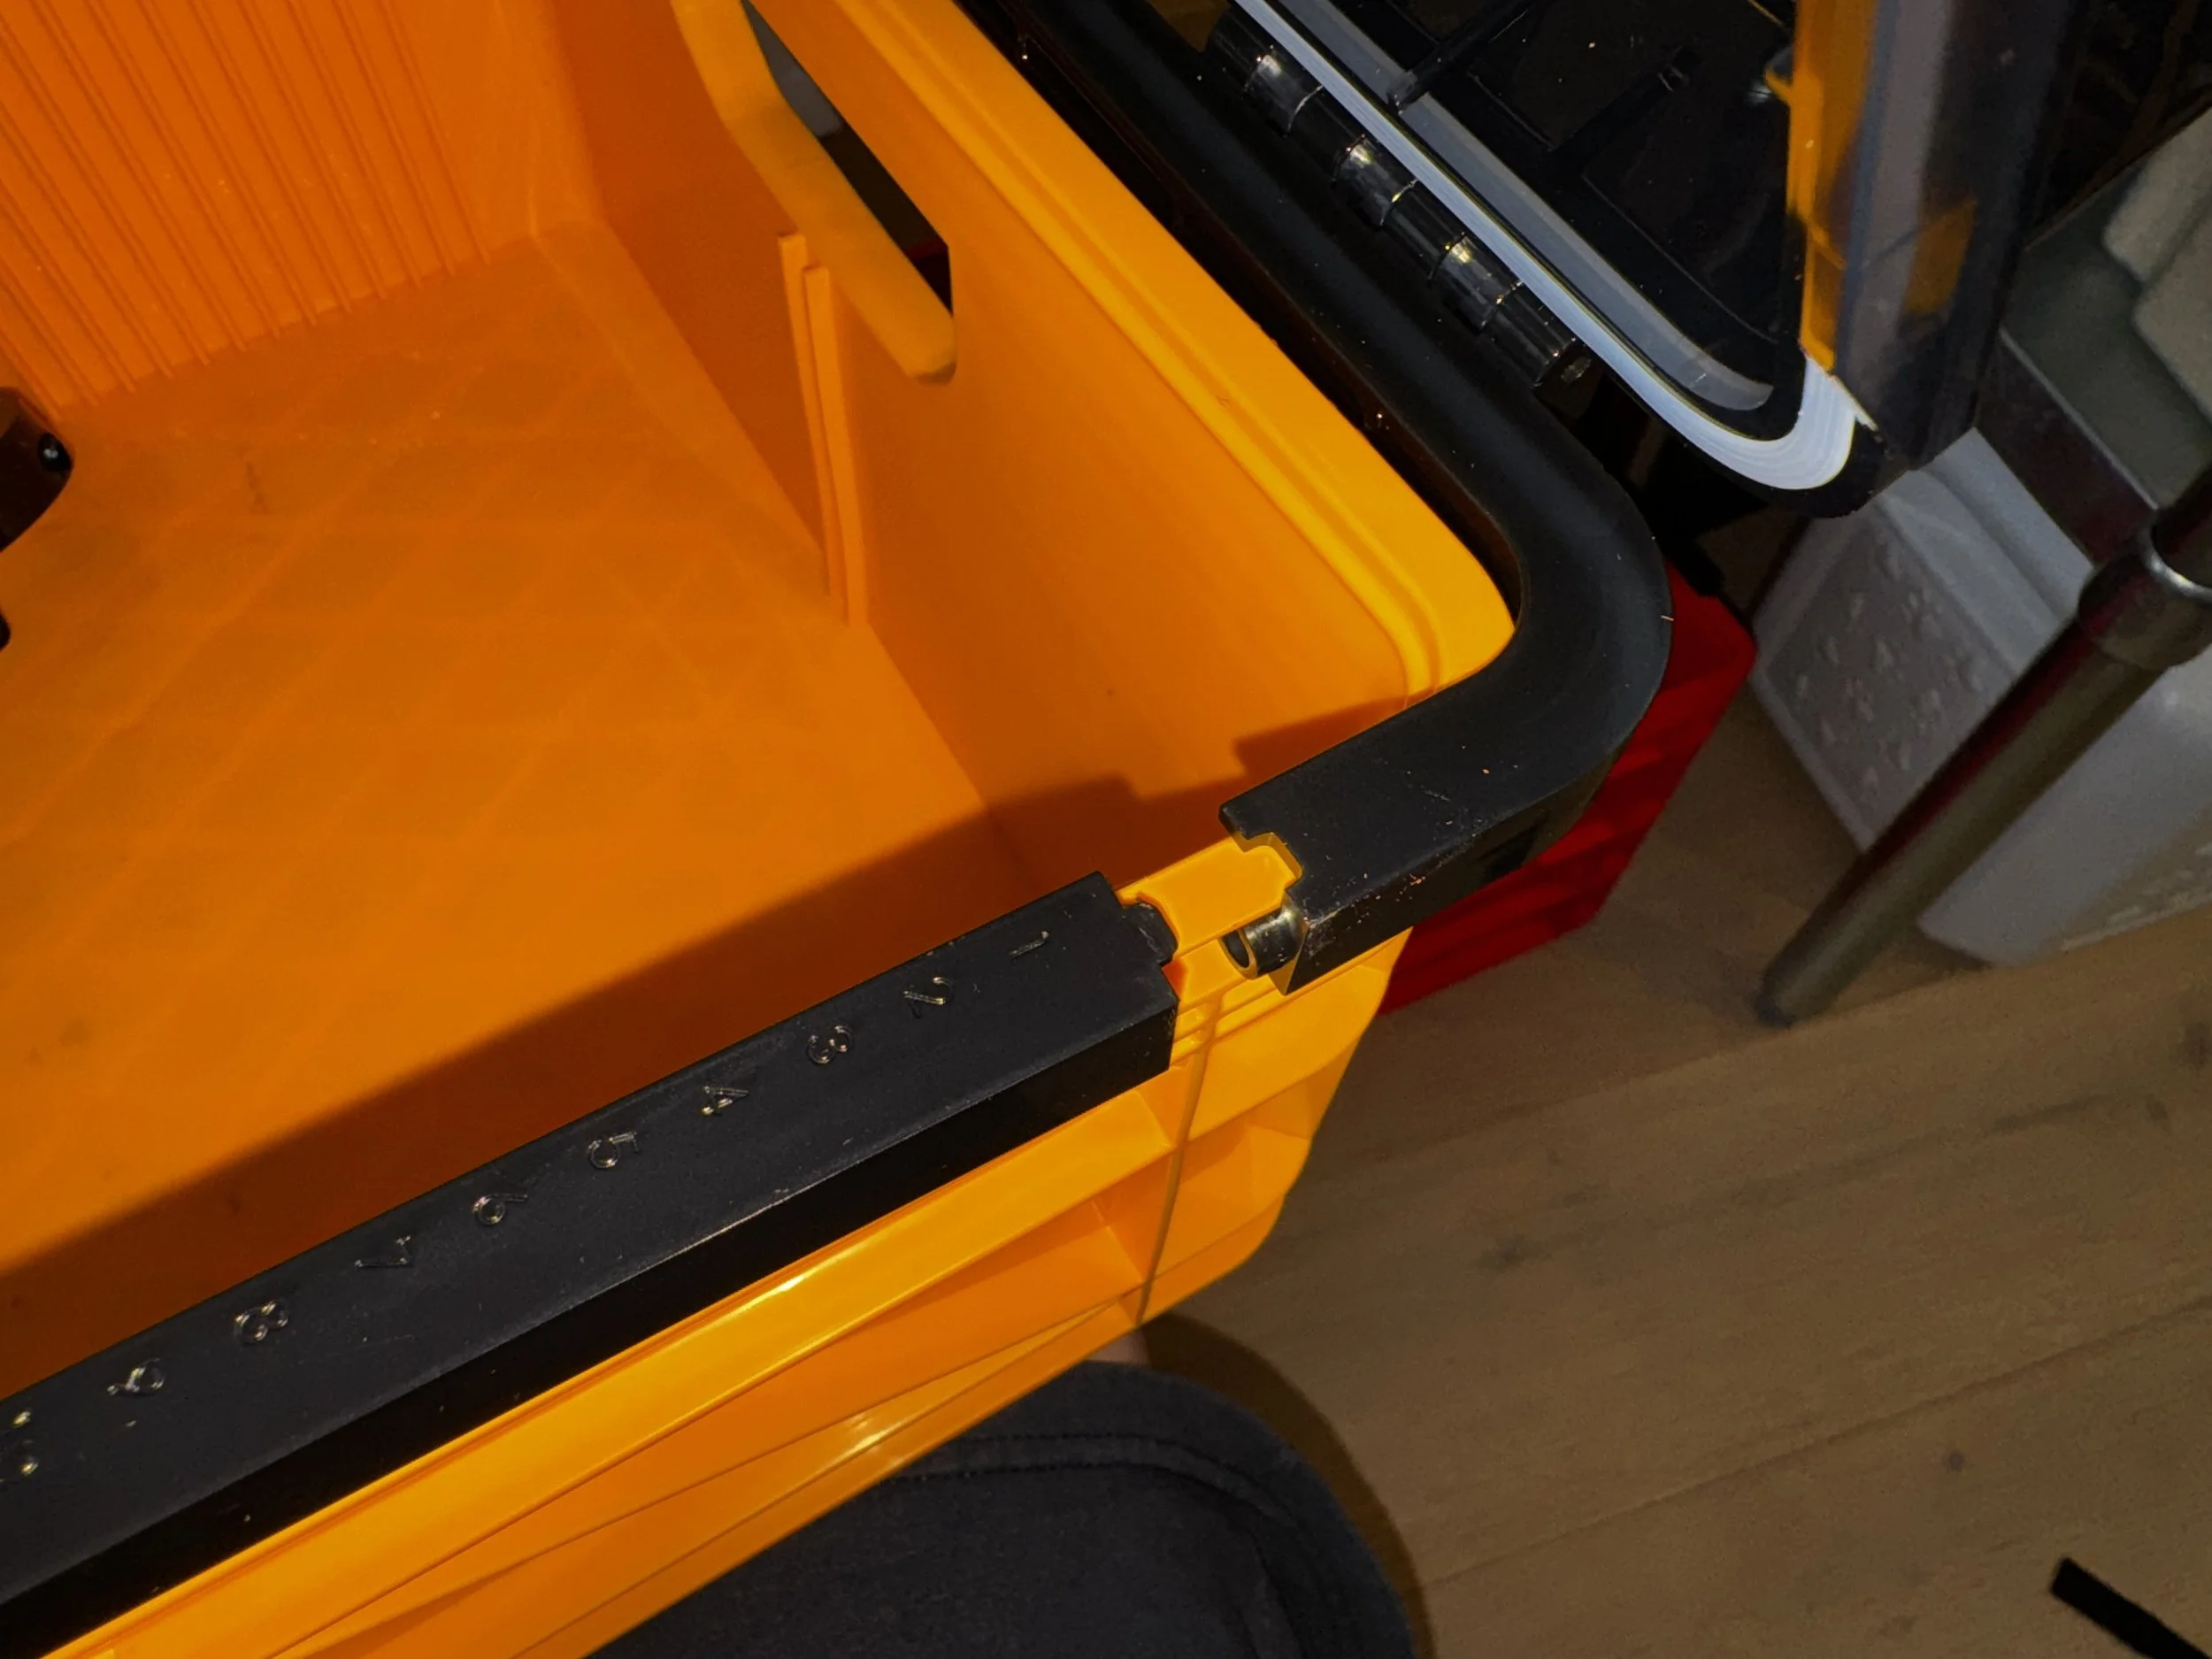
The pieces are effectively “keyed”, it does not sit completely flush after many attempts however
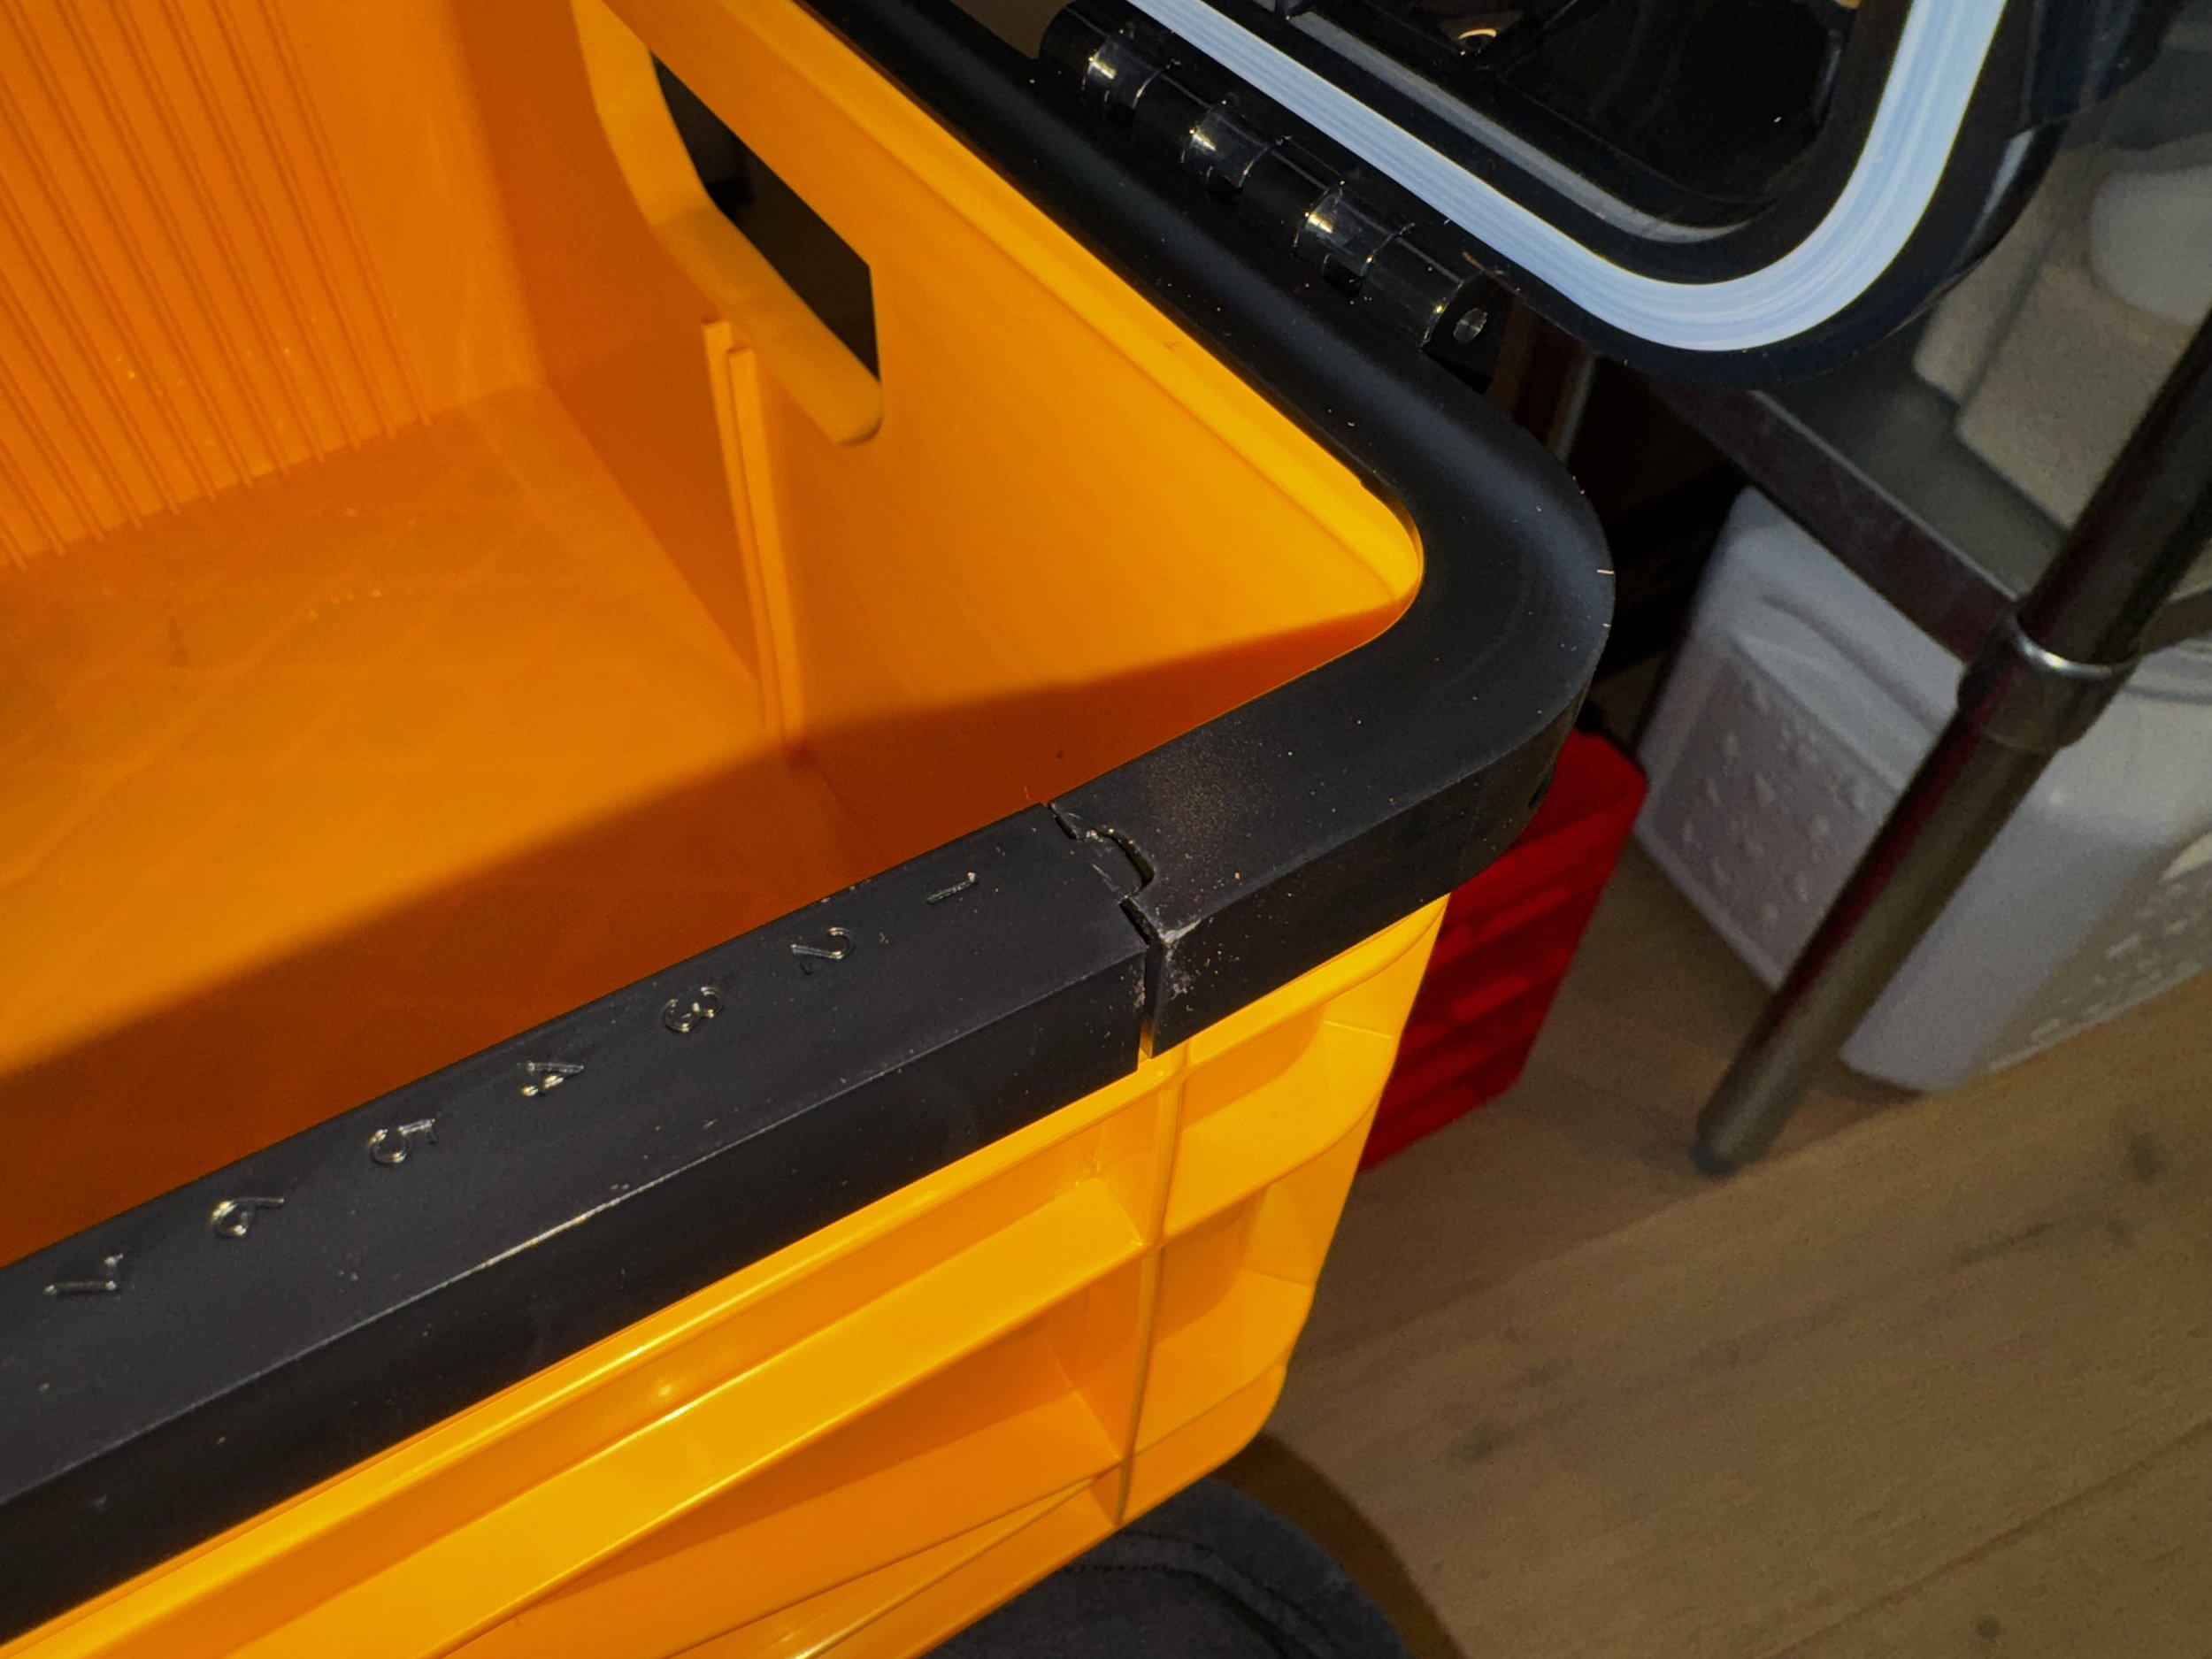
Good enough.
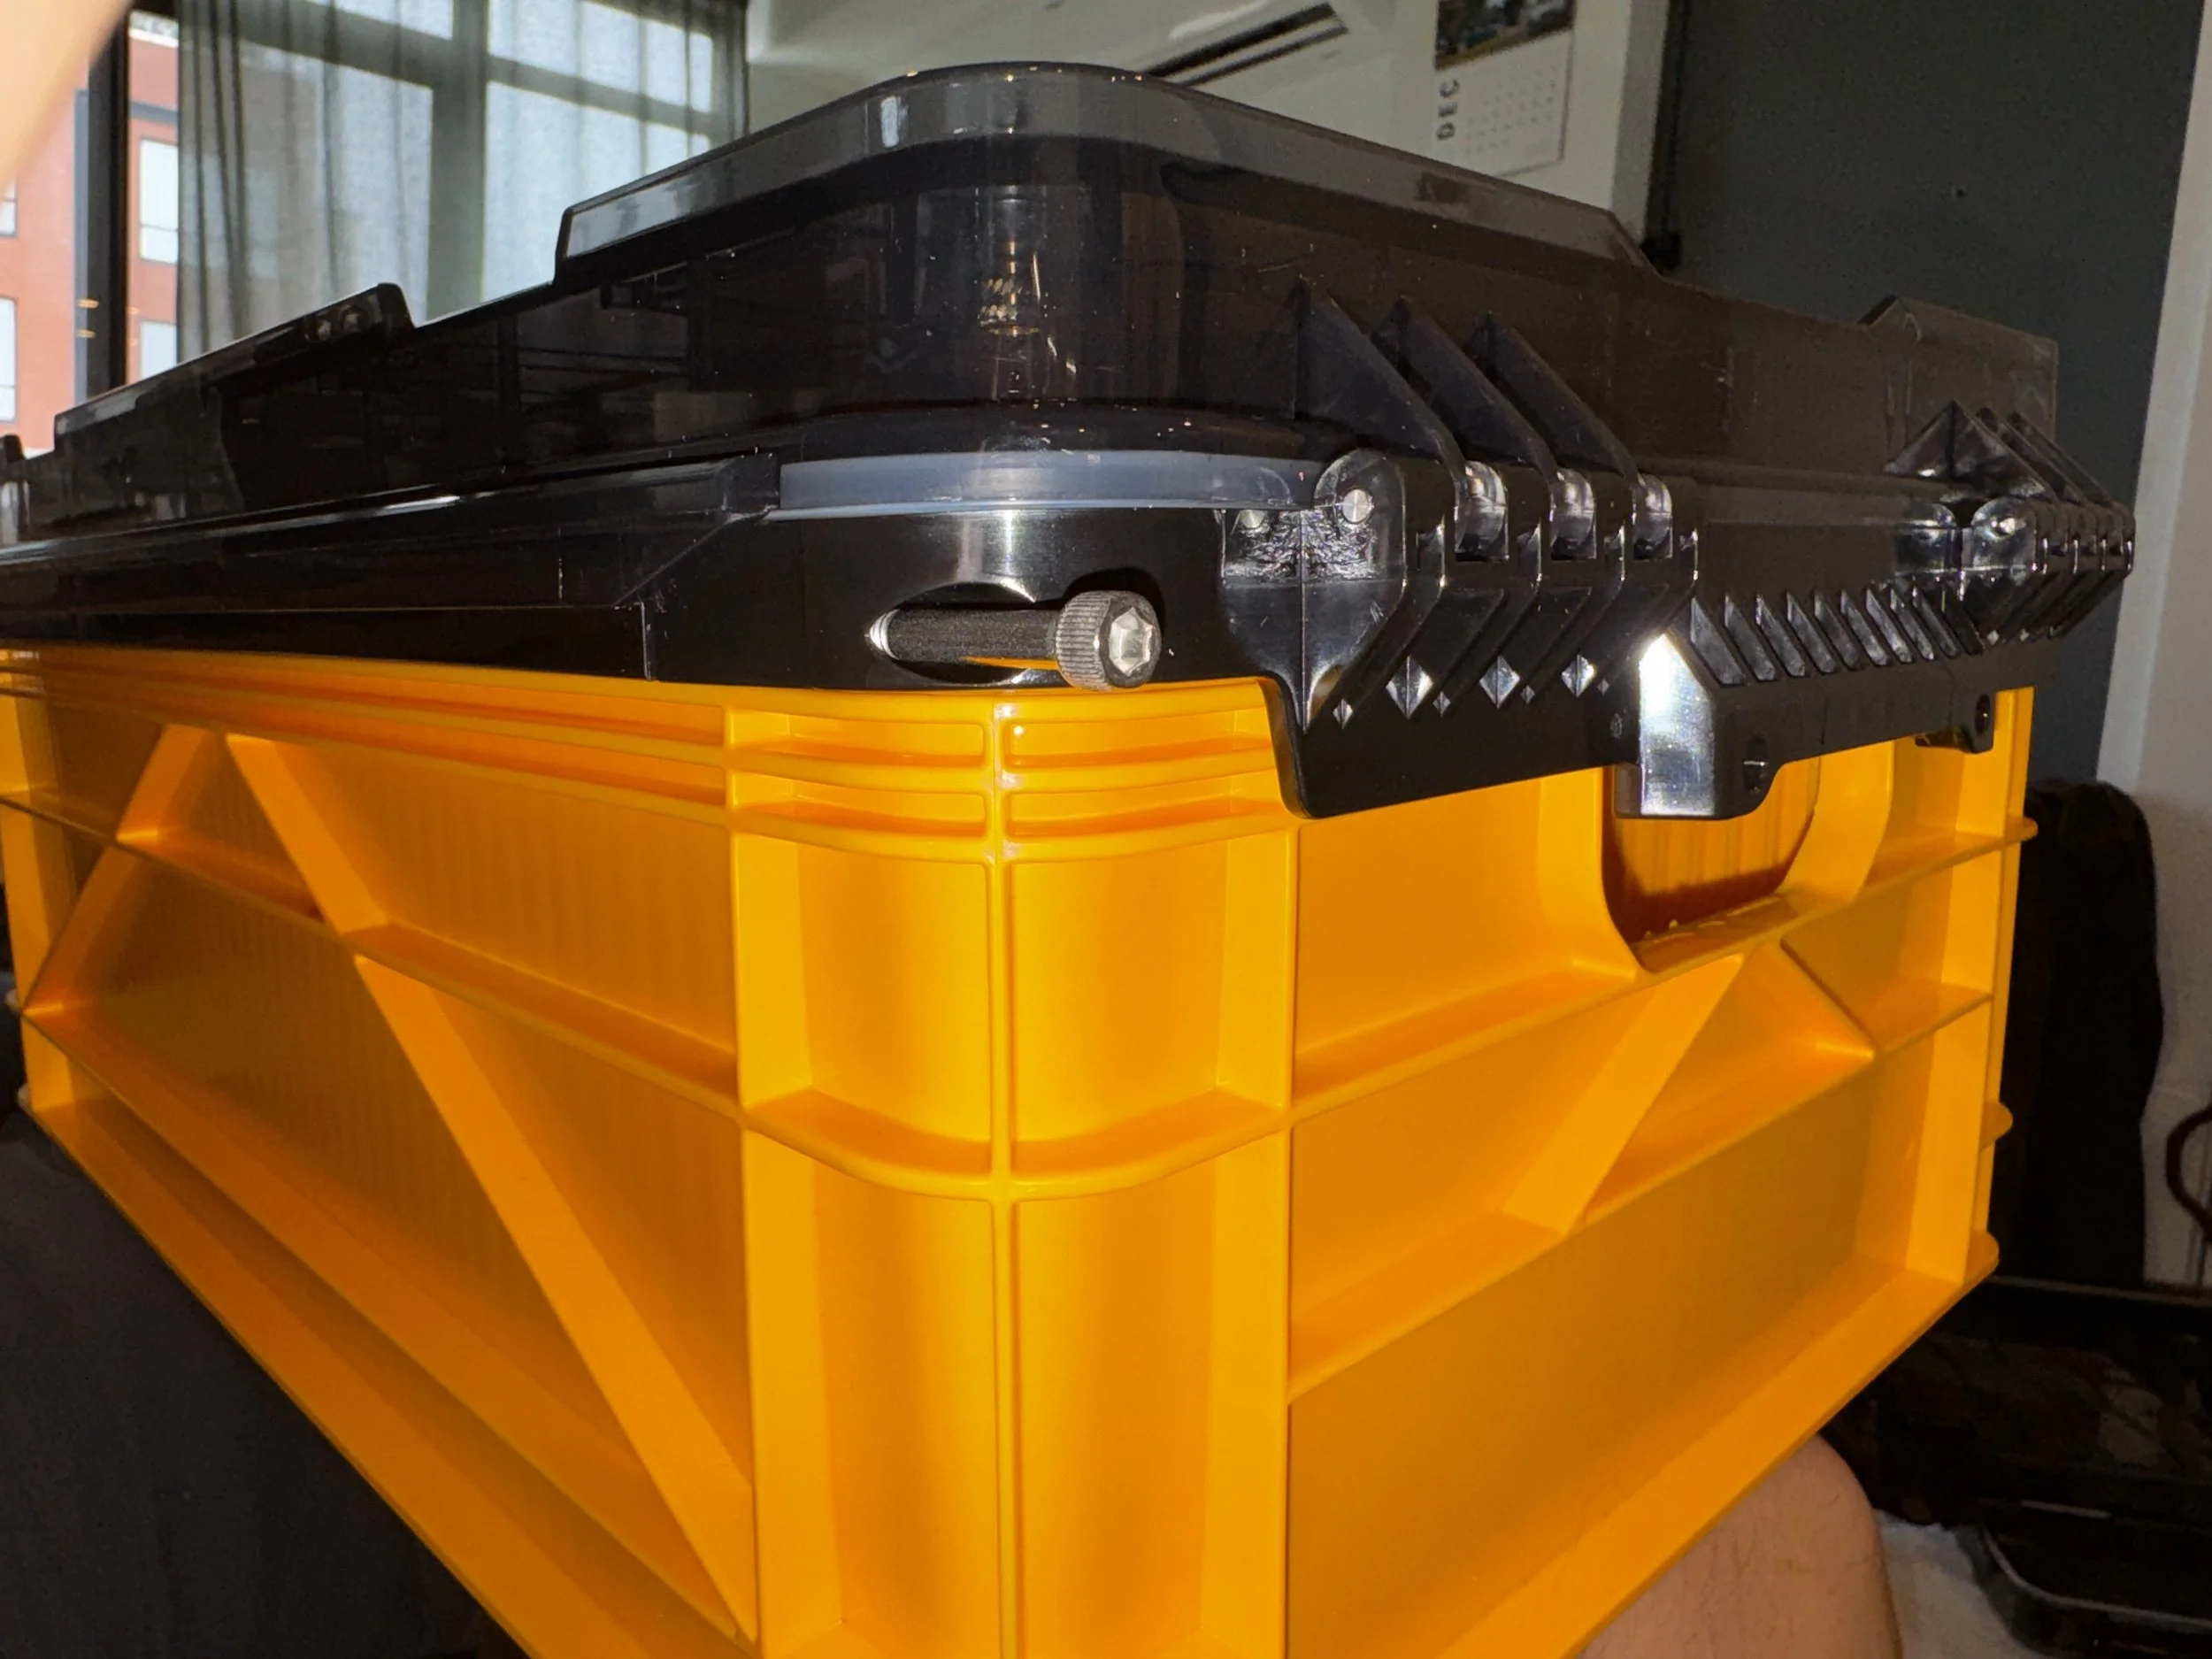
On to the other end…
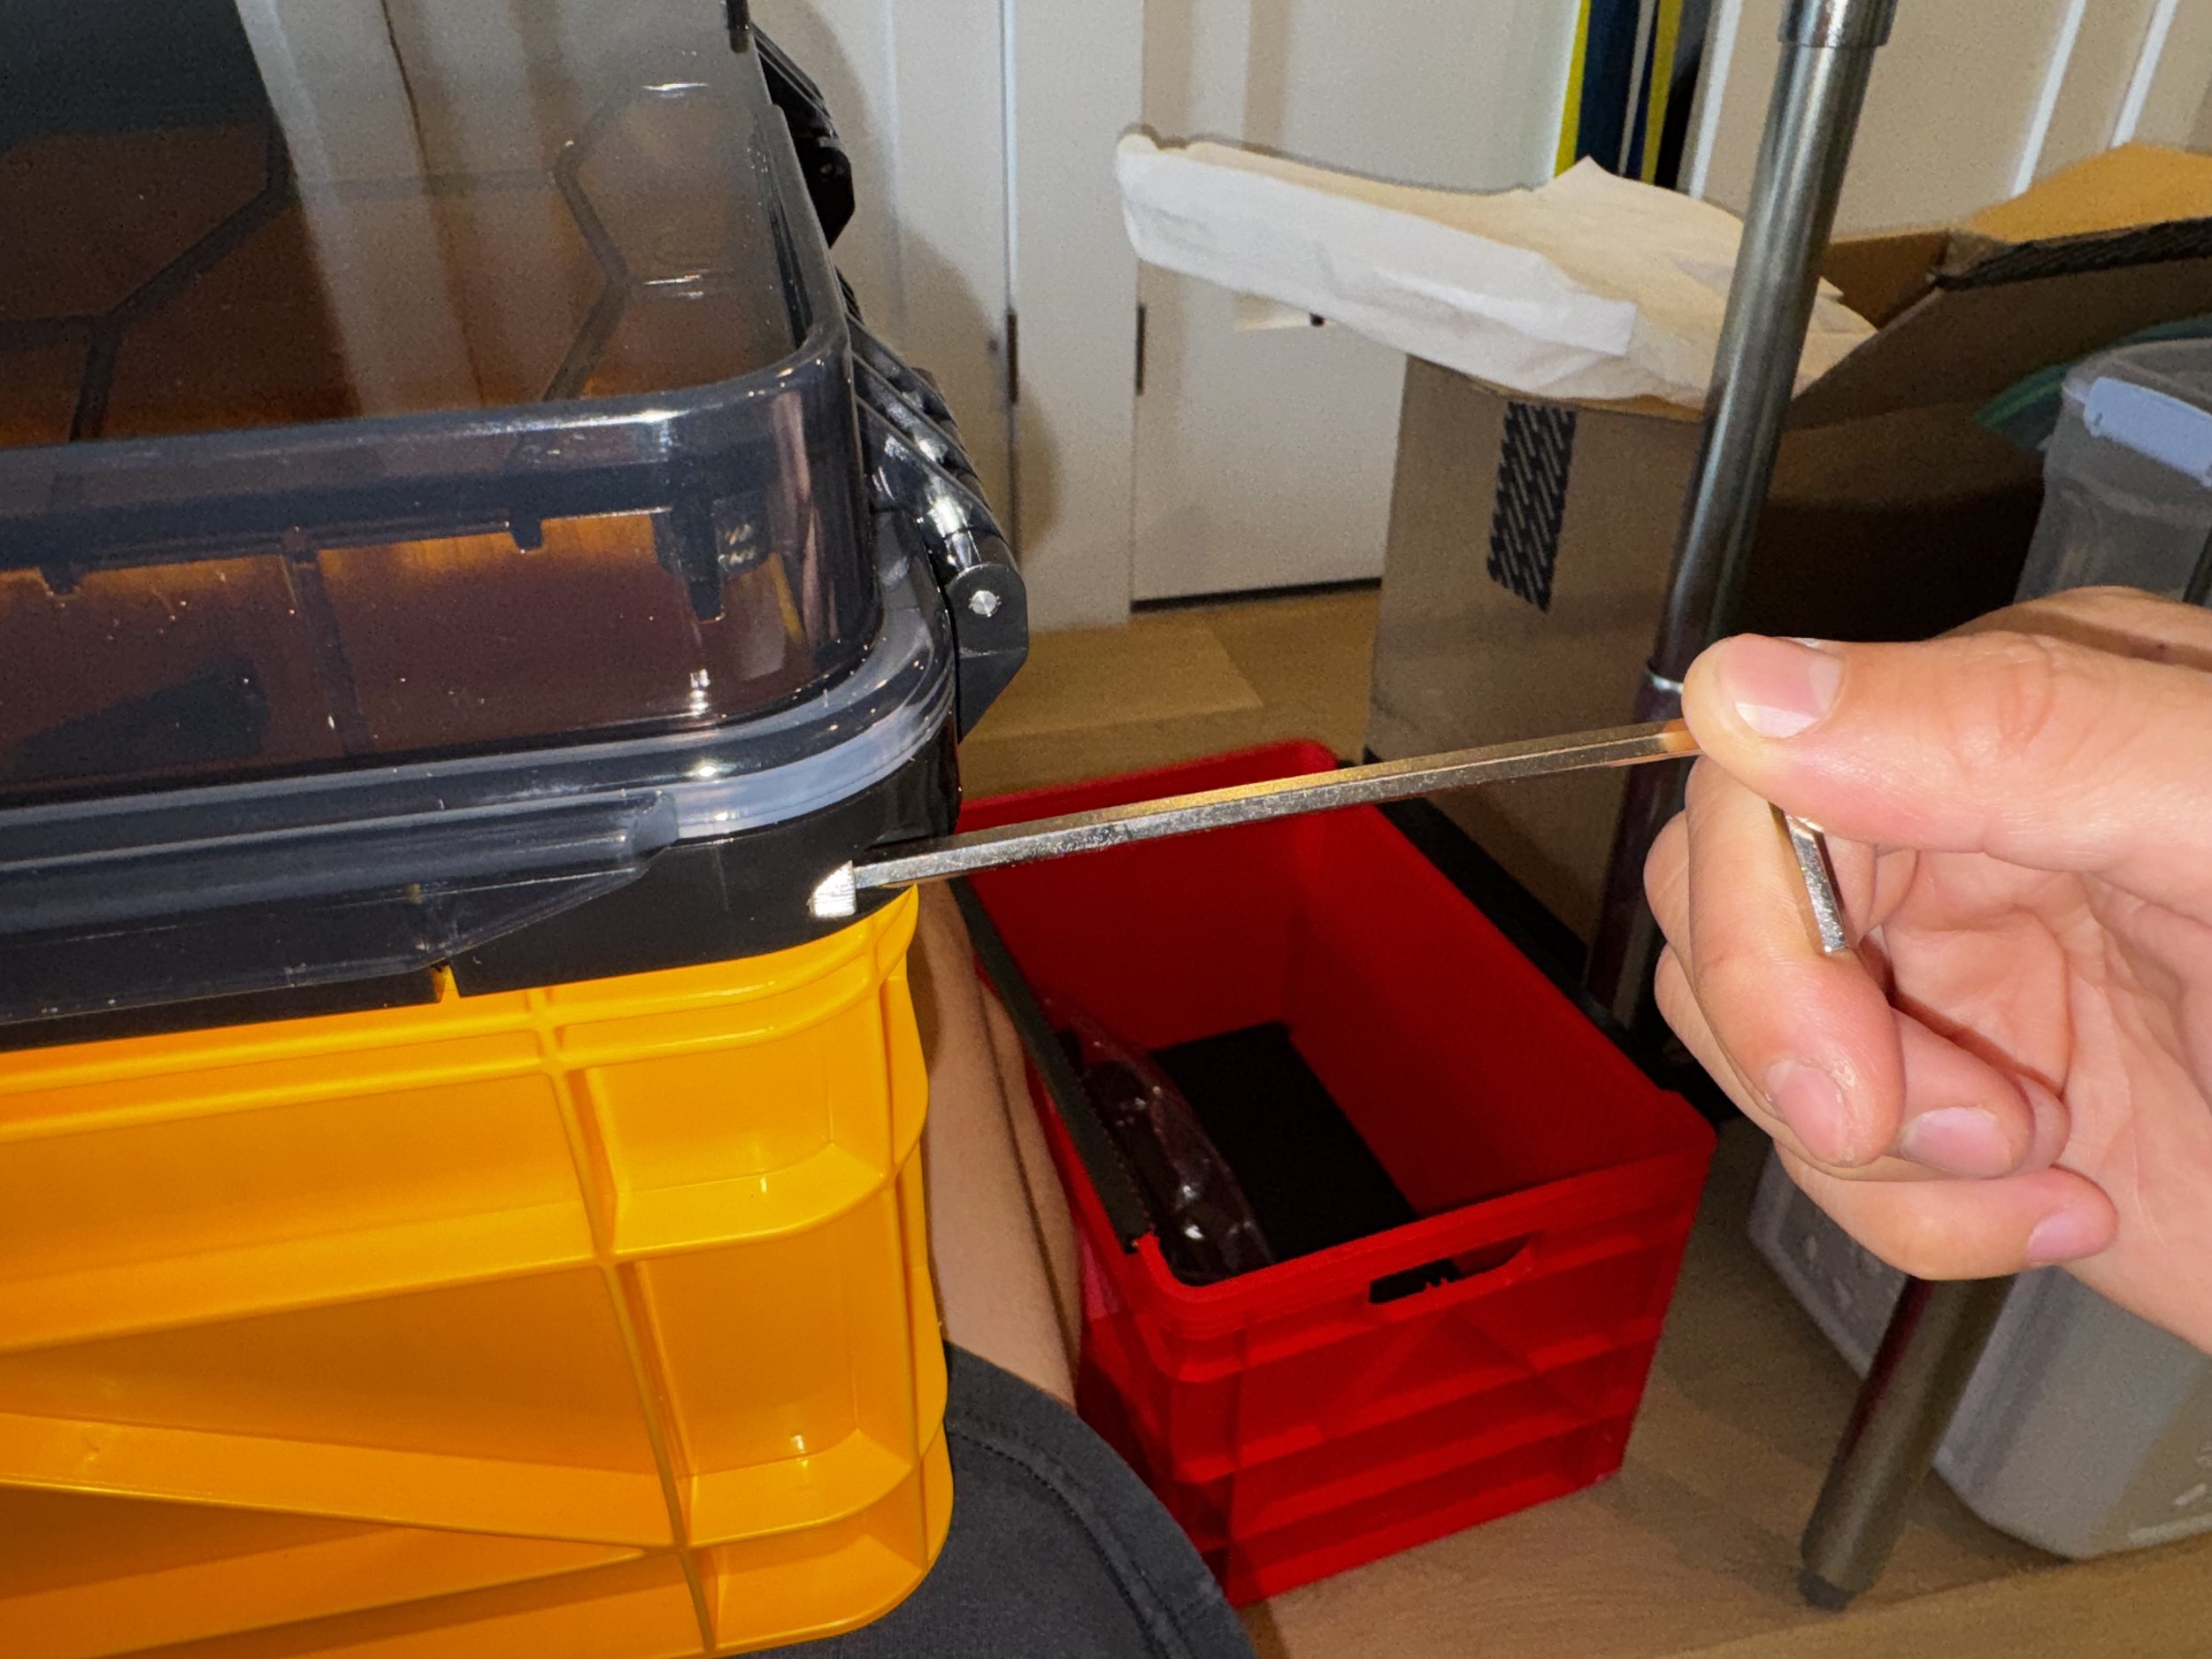
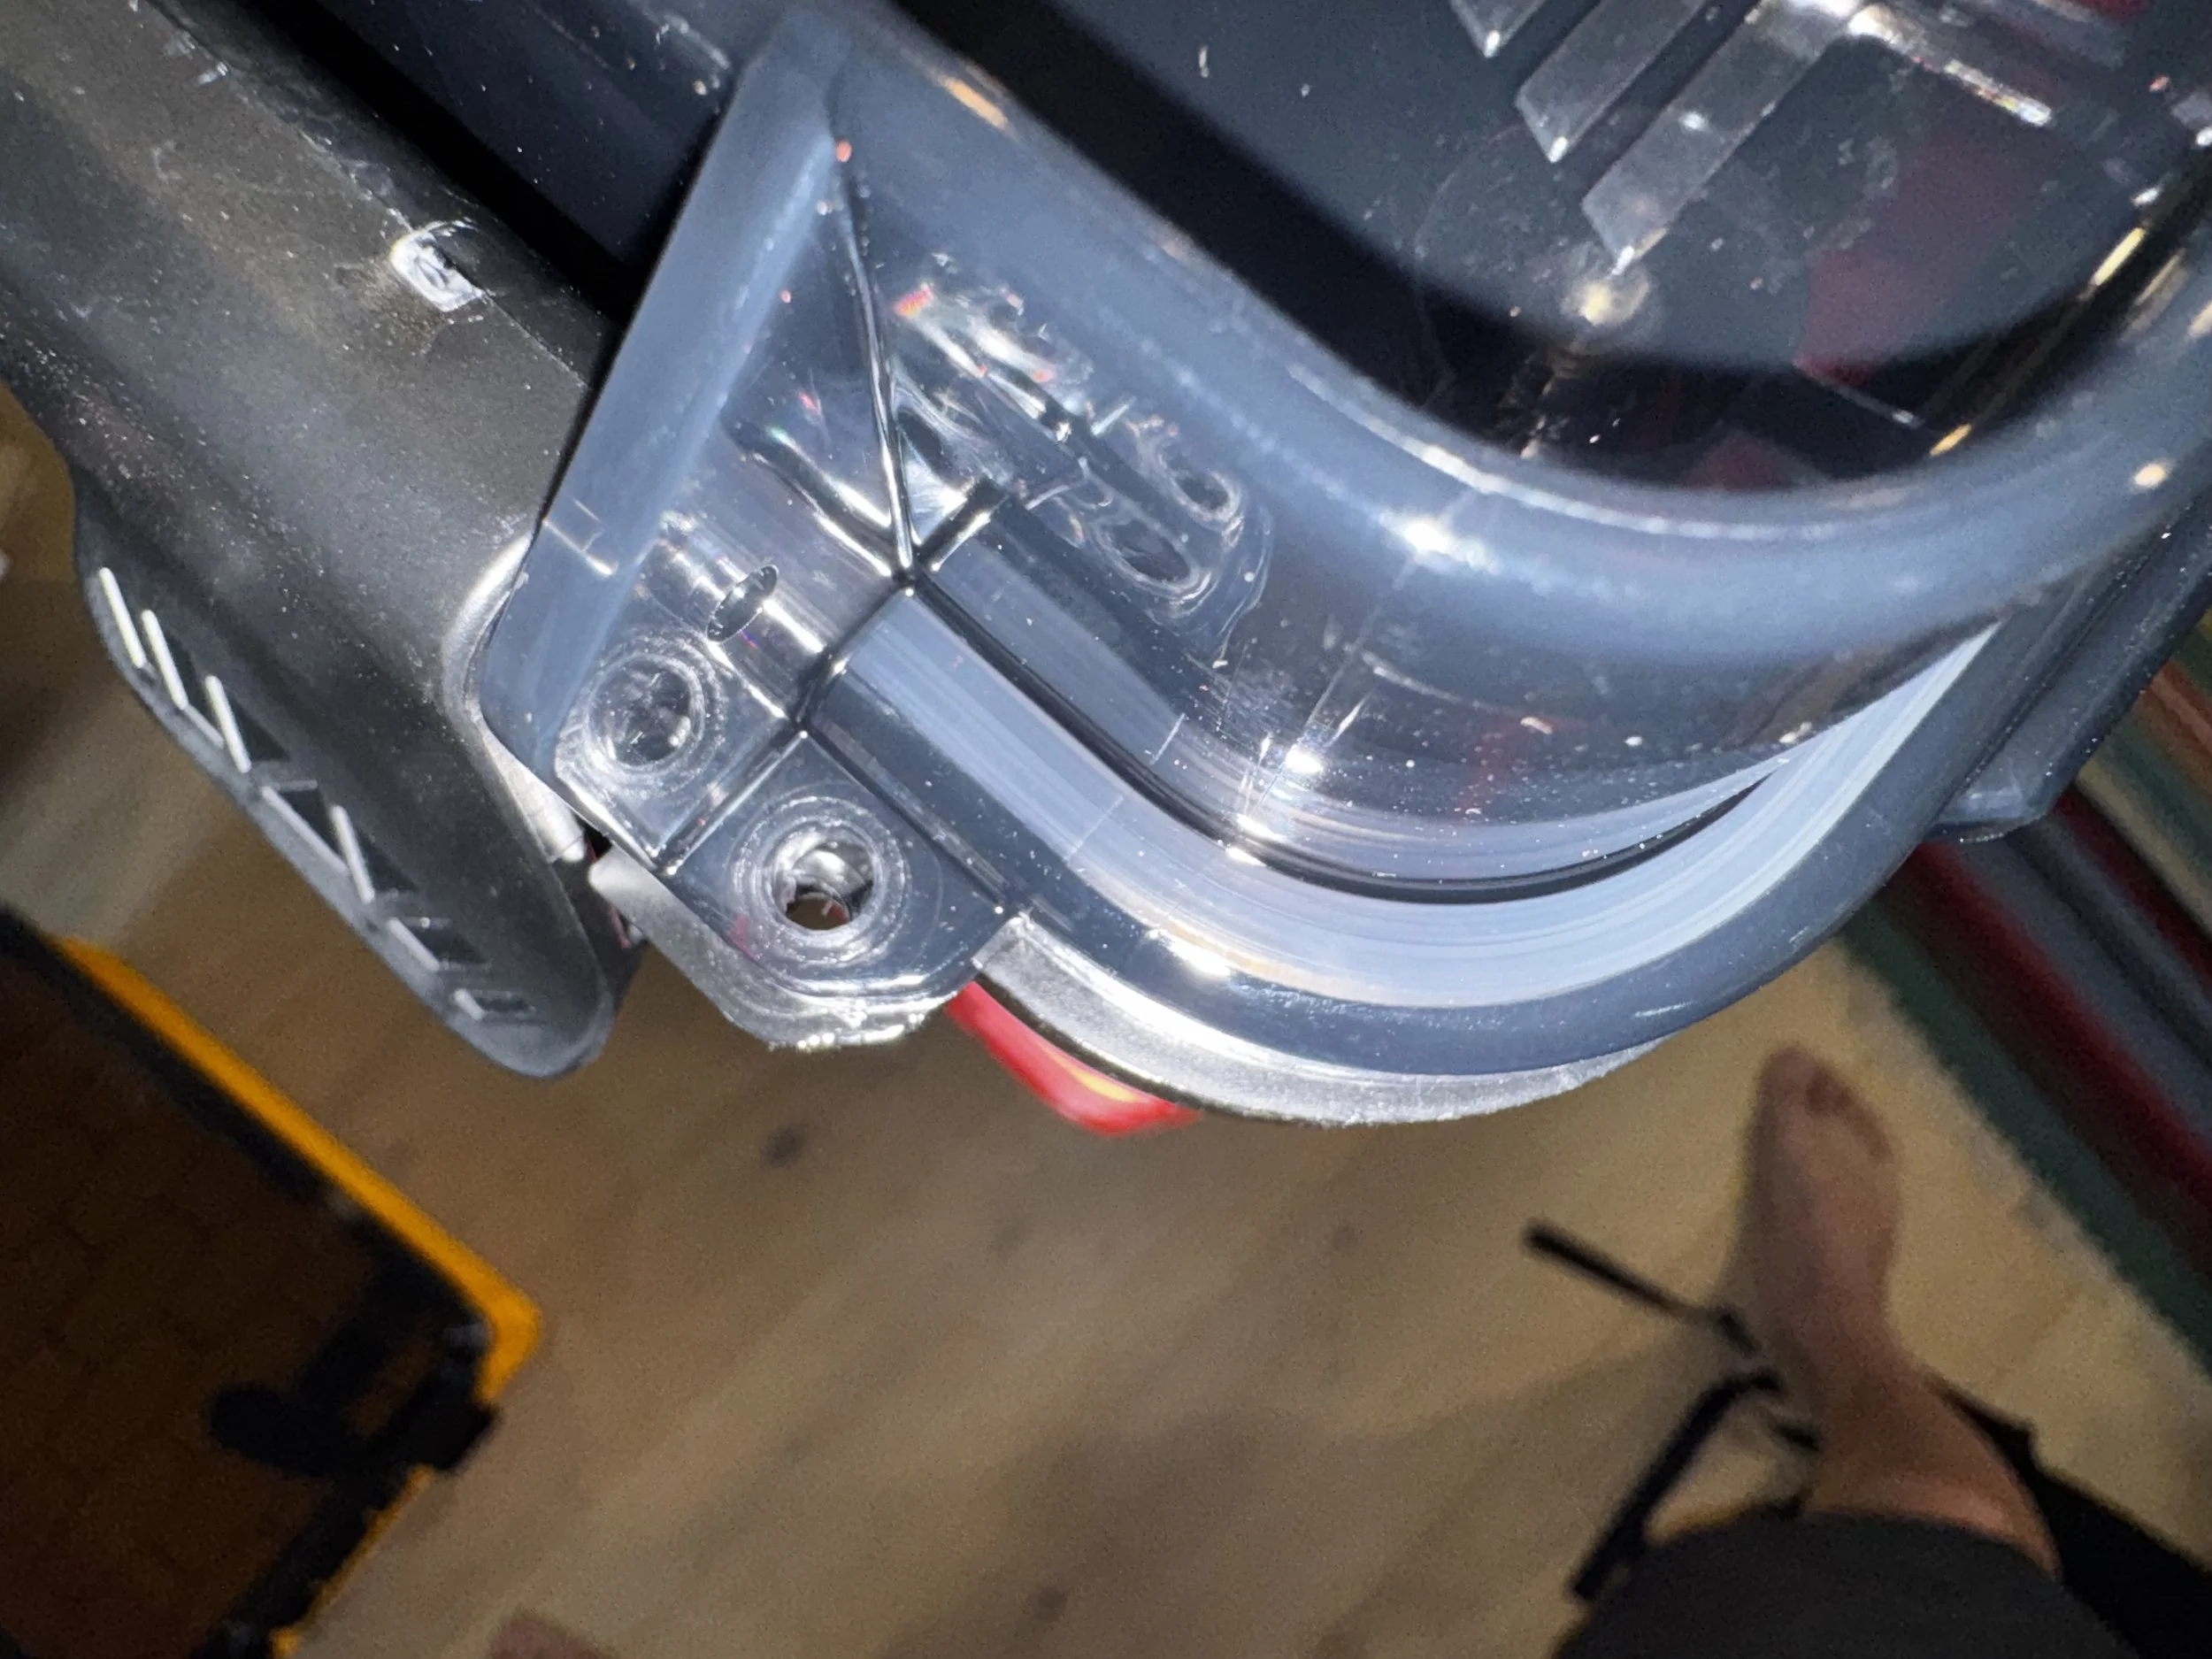
One thing I had noticed was - after driving in the hex bolts, I had expected the bolt to drive the two pieces together, which was not the case. The reason for this is the threaded insert is a blind hole, not a through hole. So when I drove the bolts in all the way, it effectively bottomed out before clamping the side piece and the lid end together.
The trick was to loosen up all the bolts, then use the supplied allen key to lever using the hole on the lid and the hole on the end piece (pictured below)
One small feedback would be to make the threaded inserts a through hole.
One feedback I have is: I expected better tolerances on the build components for the money (~$250 for the full set), it would’ve made the assembly much easier. It took me a bit of trial and error (my forearms were getting sore so ended up pulling out my impact driver), but in any case I’m satisfied with how everything came out for now.
I look forward to getting all my hardware organized and putting it to use in the wild.
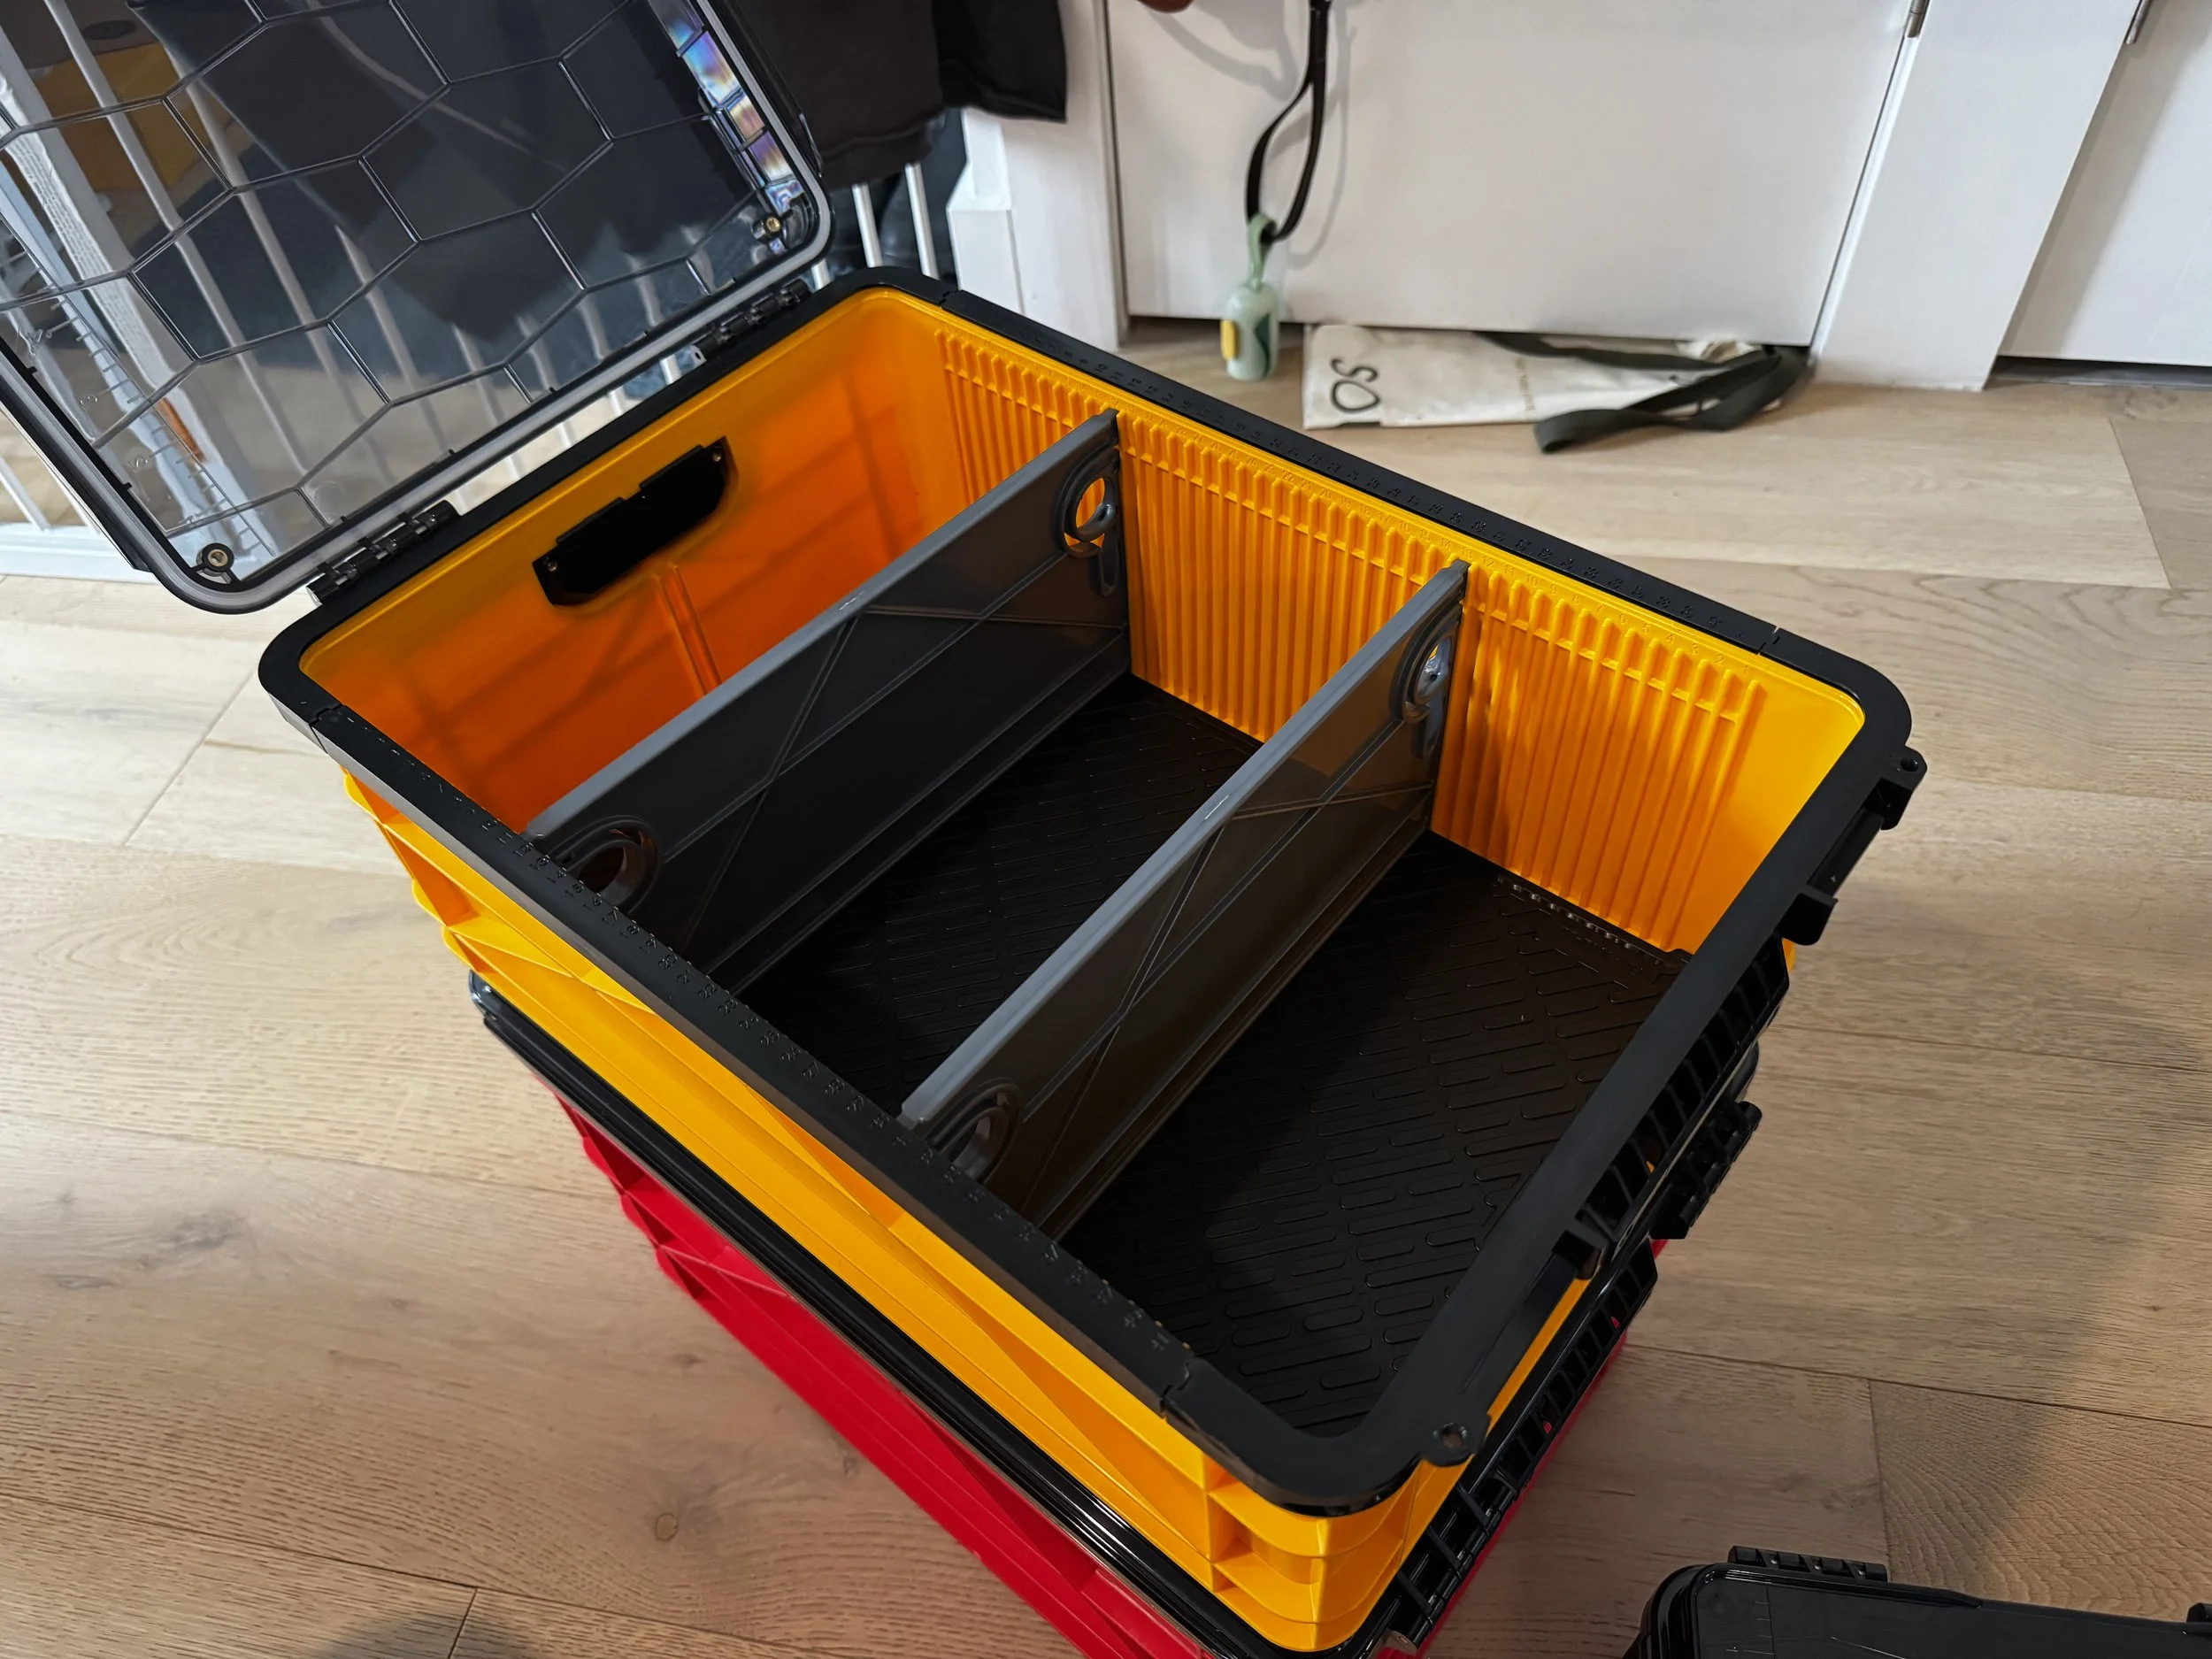
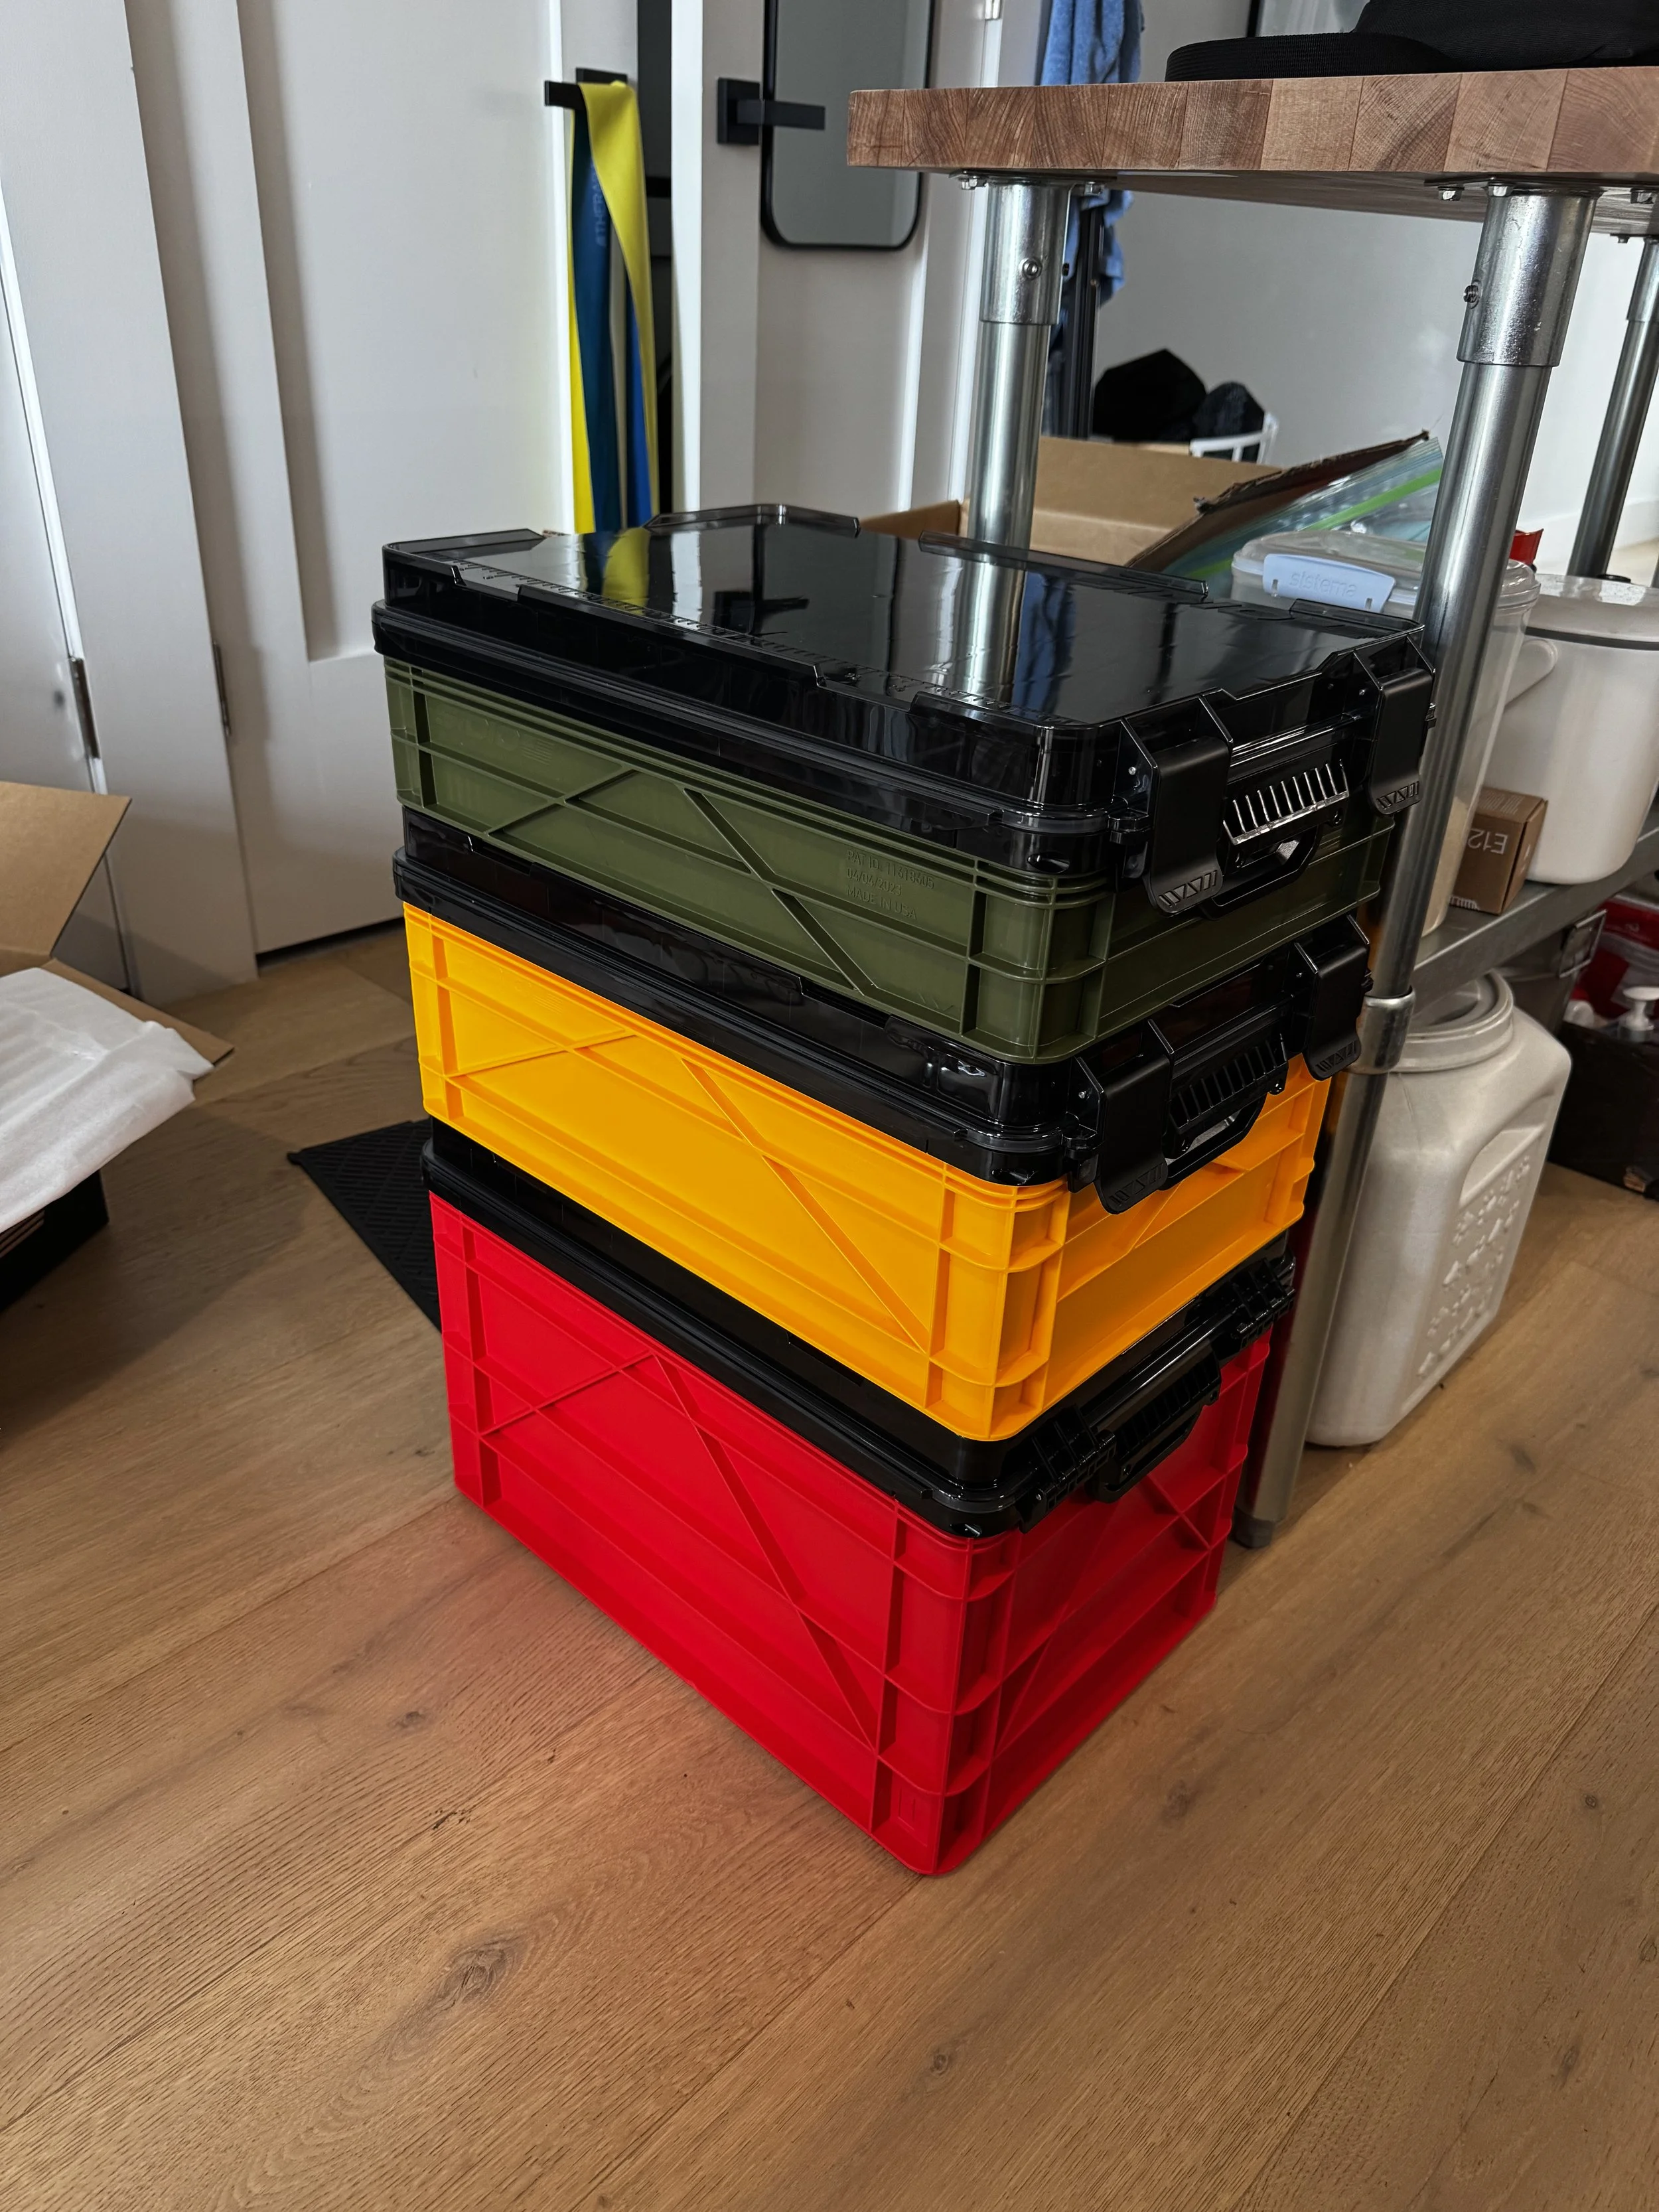
All three crates, assembled and stacked
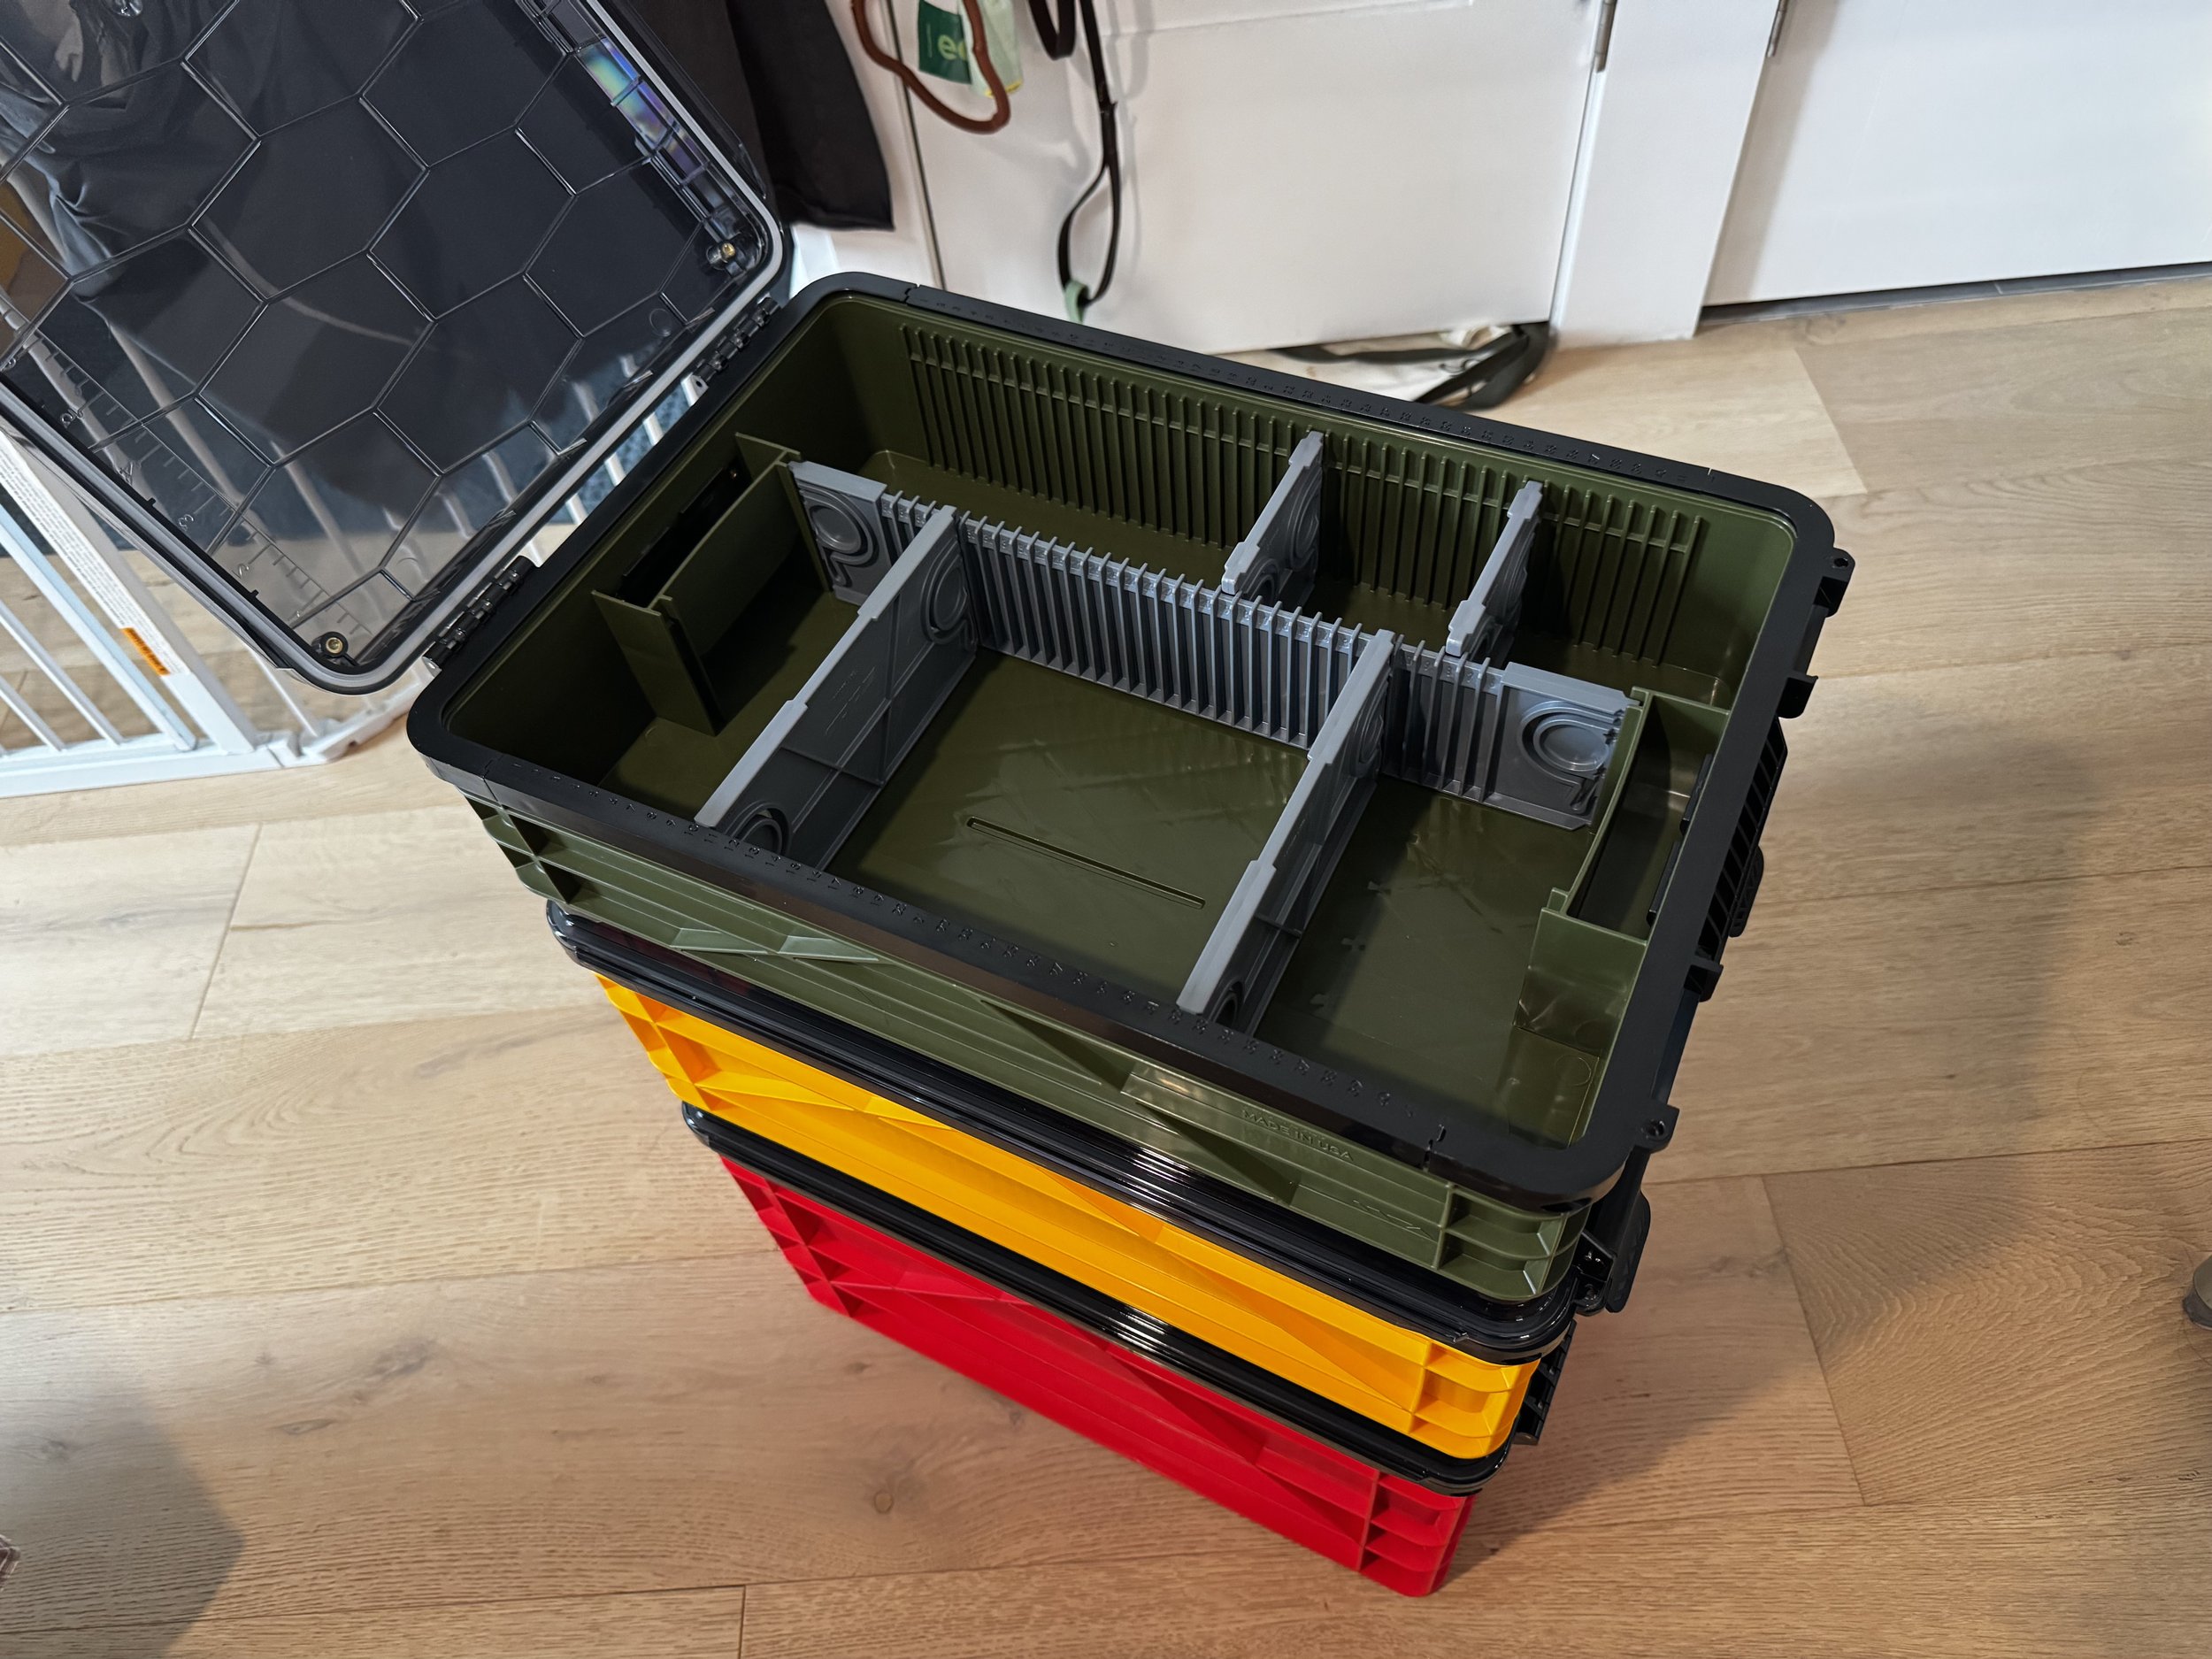
Dividers installed in the green crate (smallest - quarter size)
*the third rubber mat I ordered does not fit the green crate.
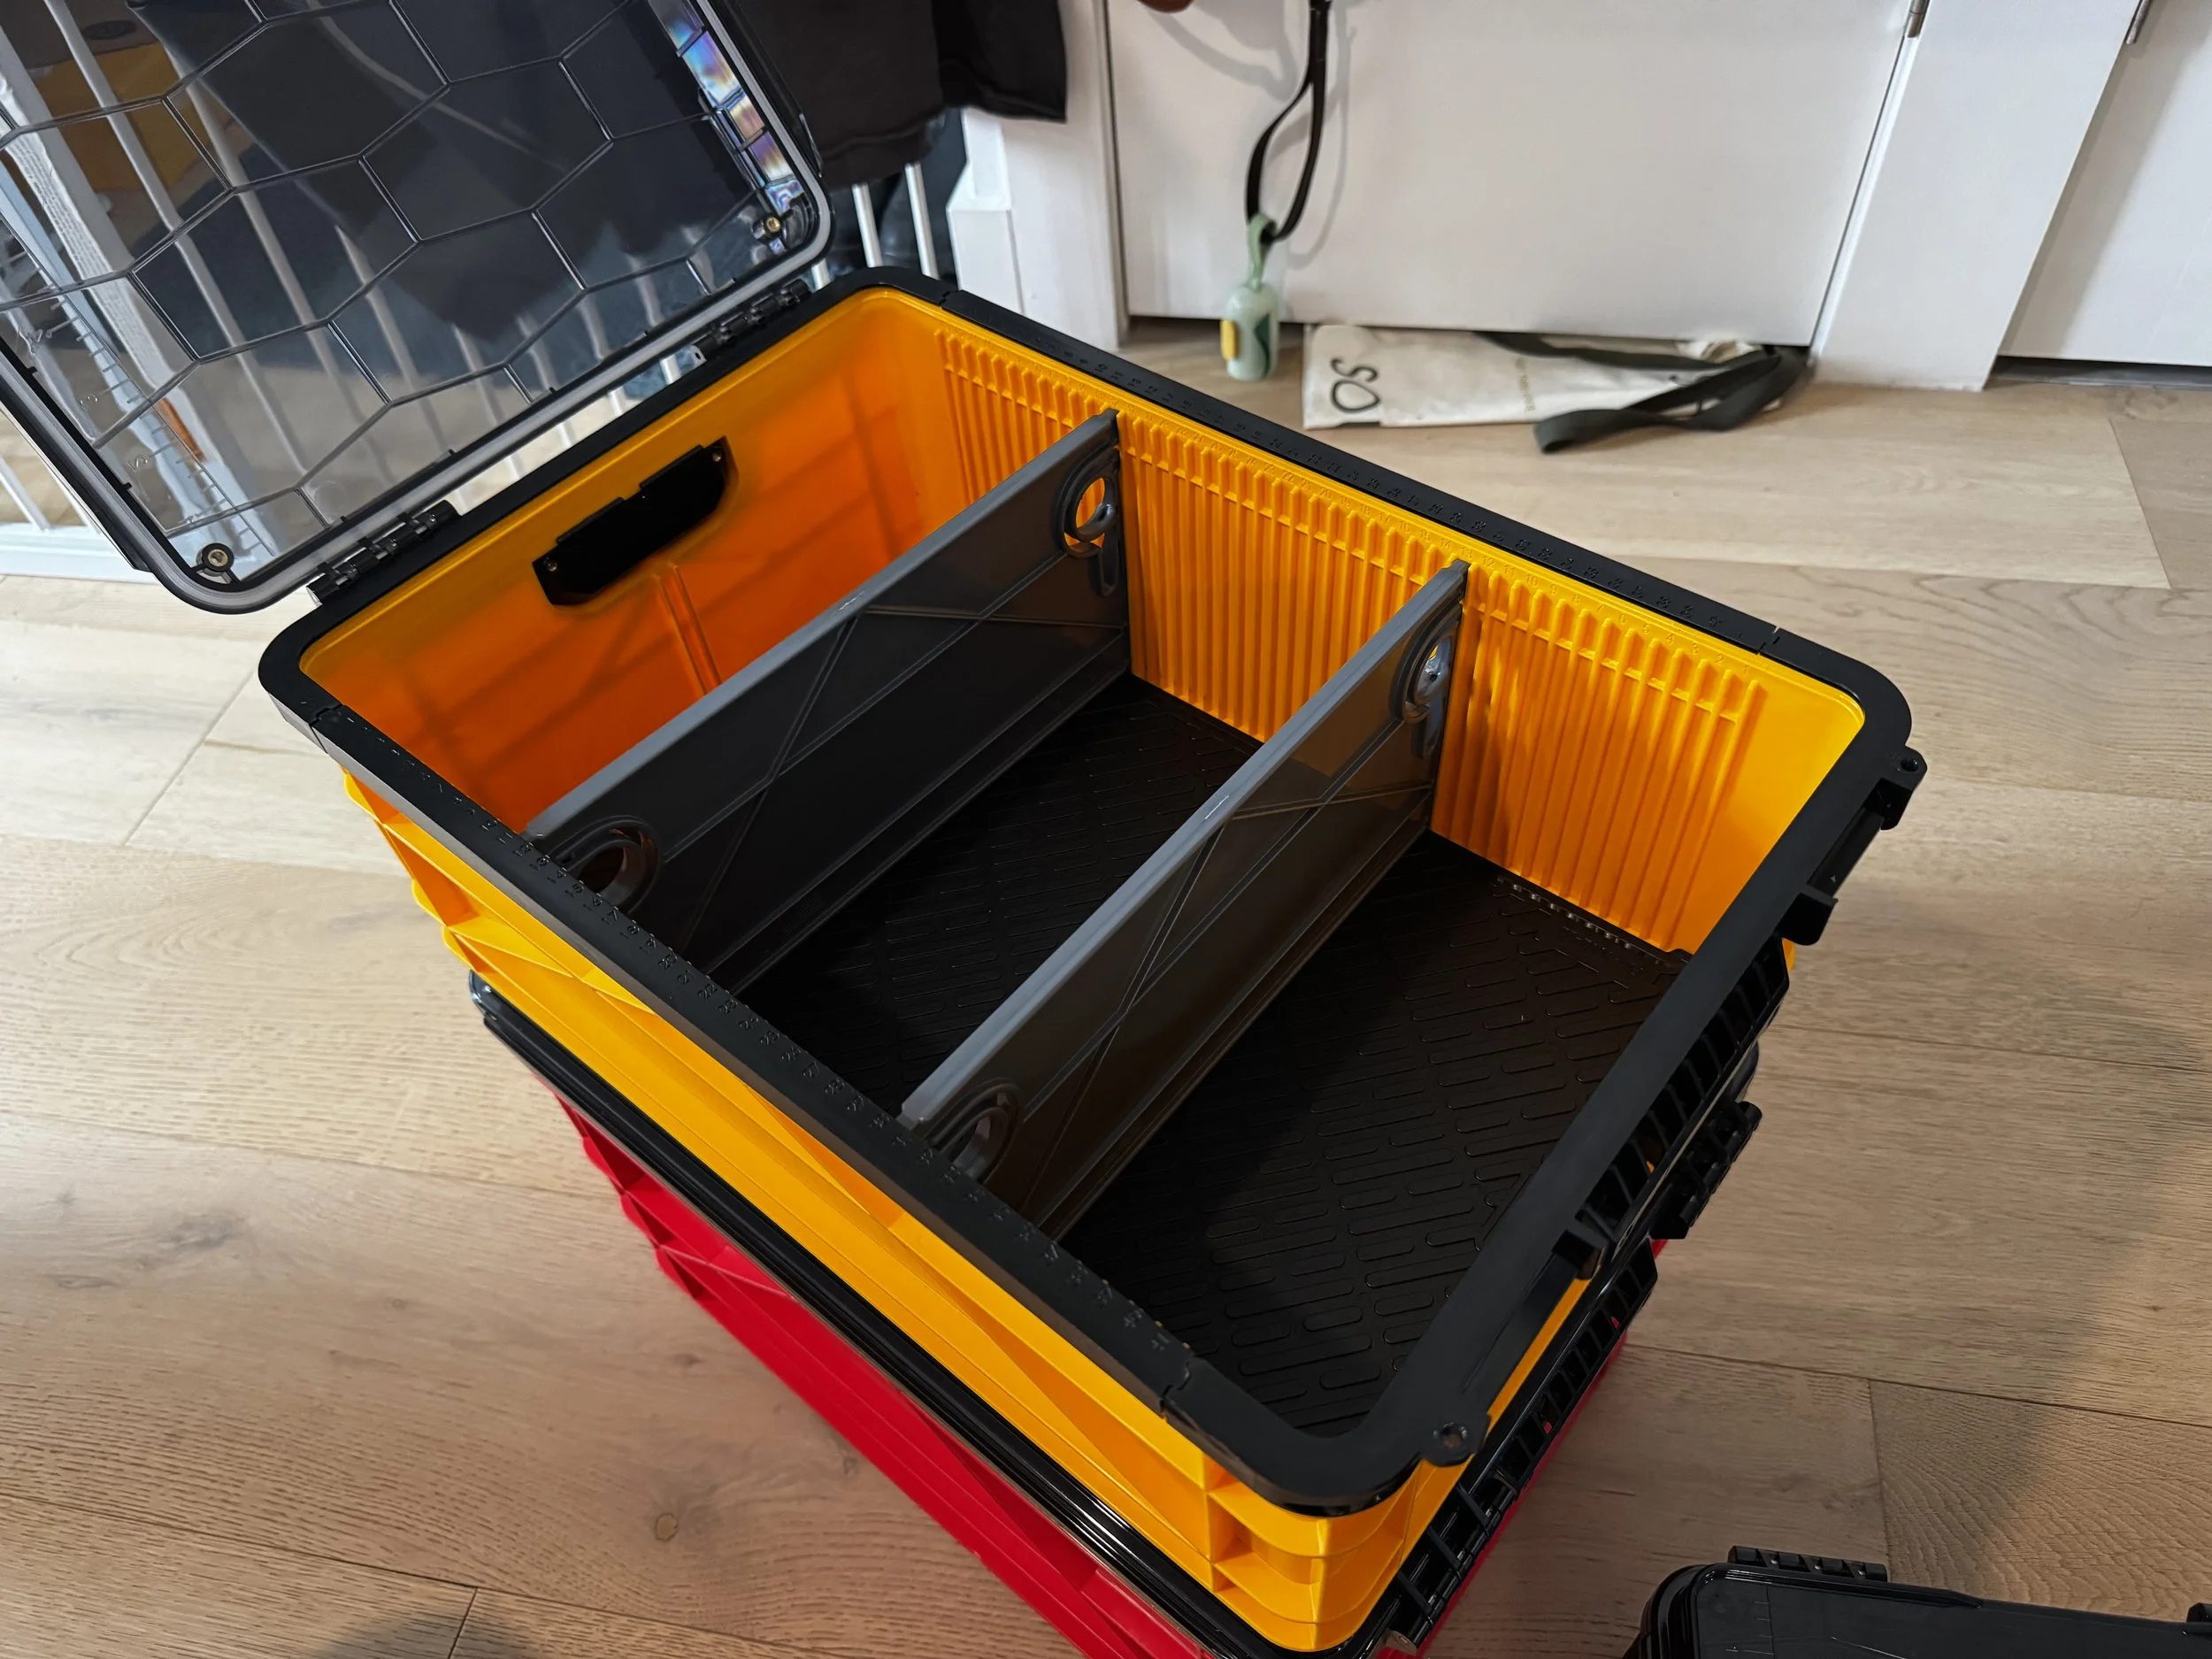
Dividers and rubber mat installed in the yellow crate (half size)
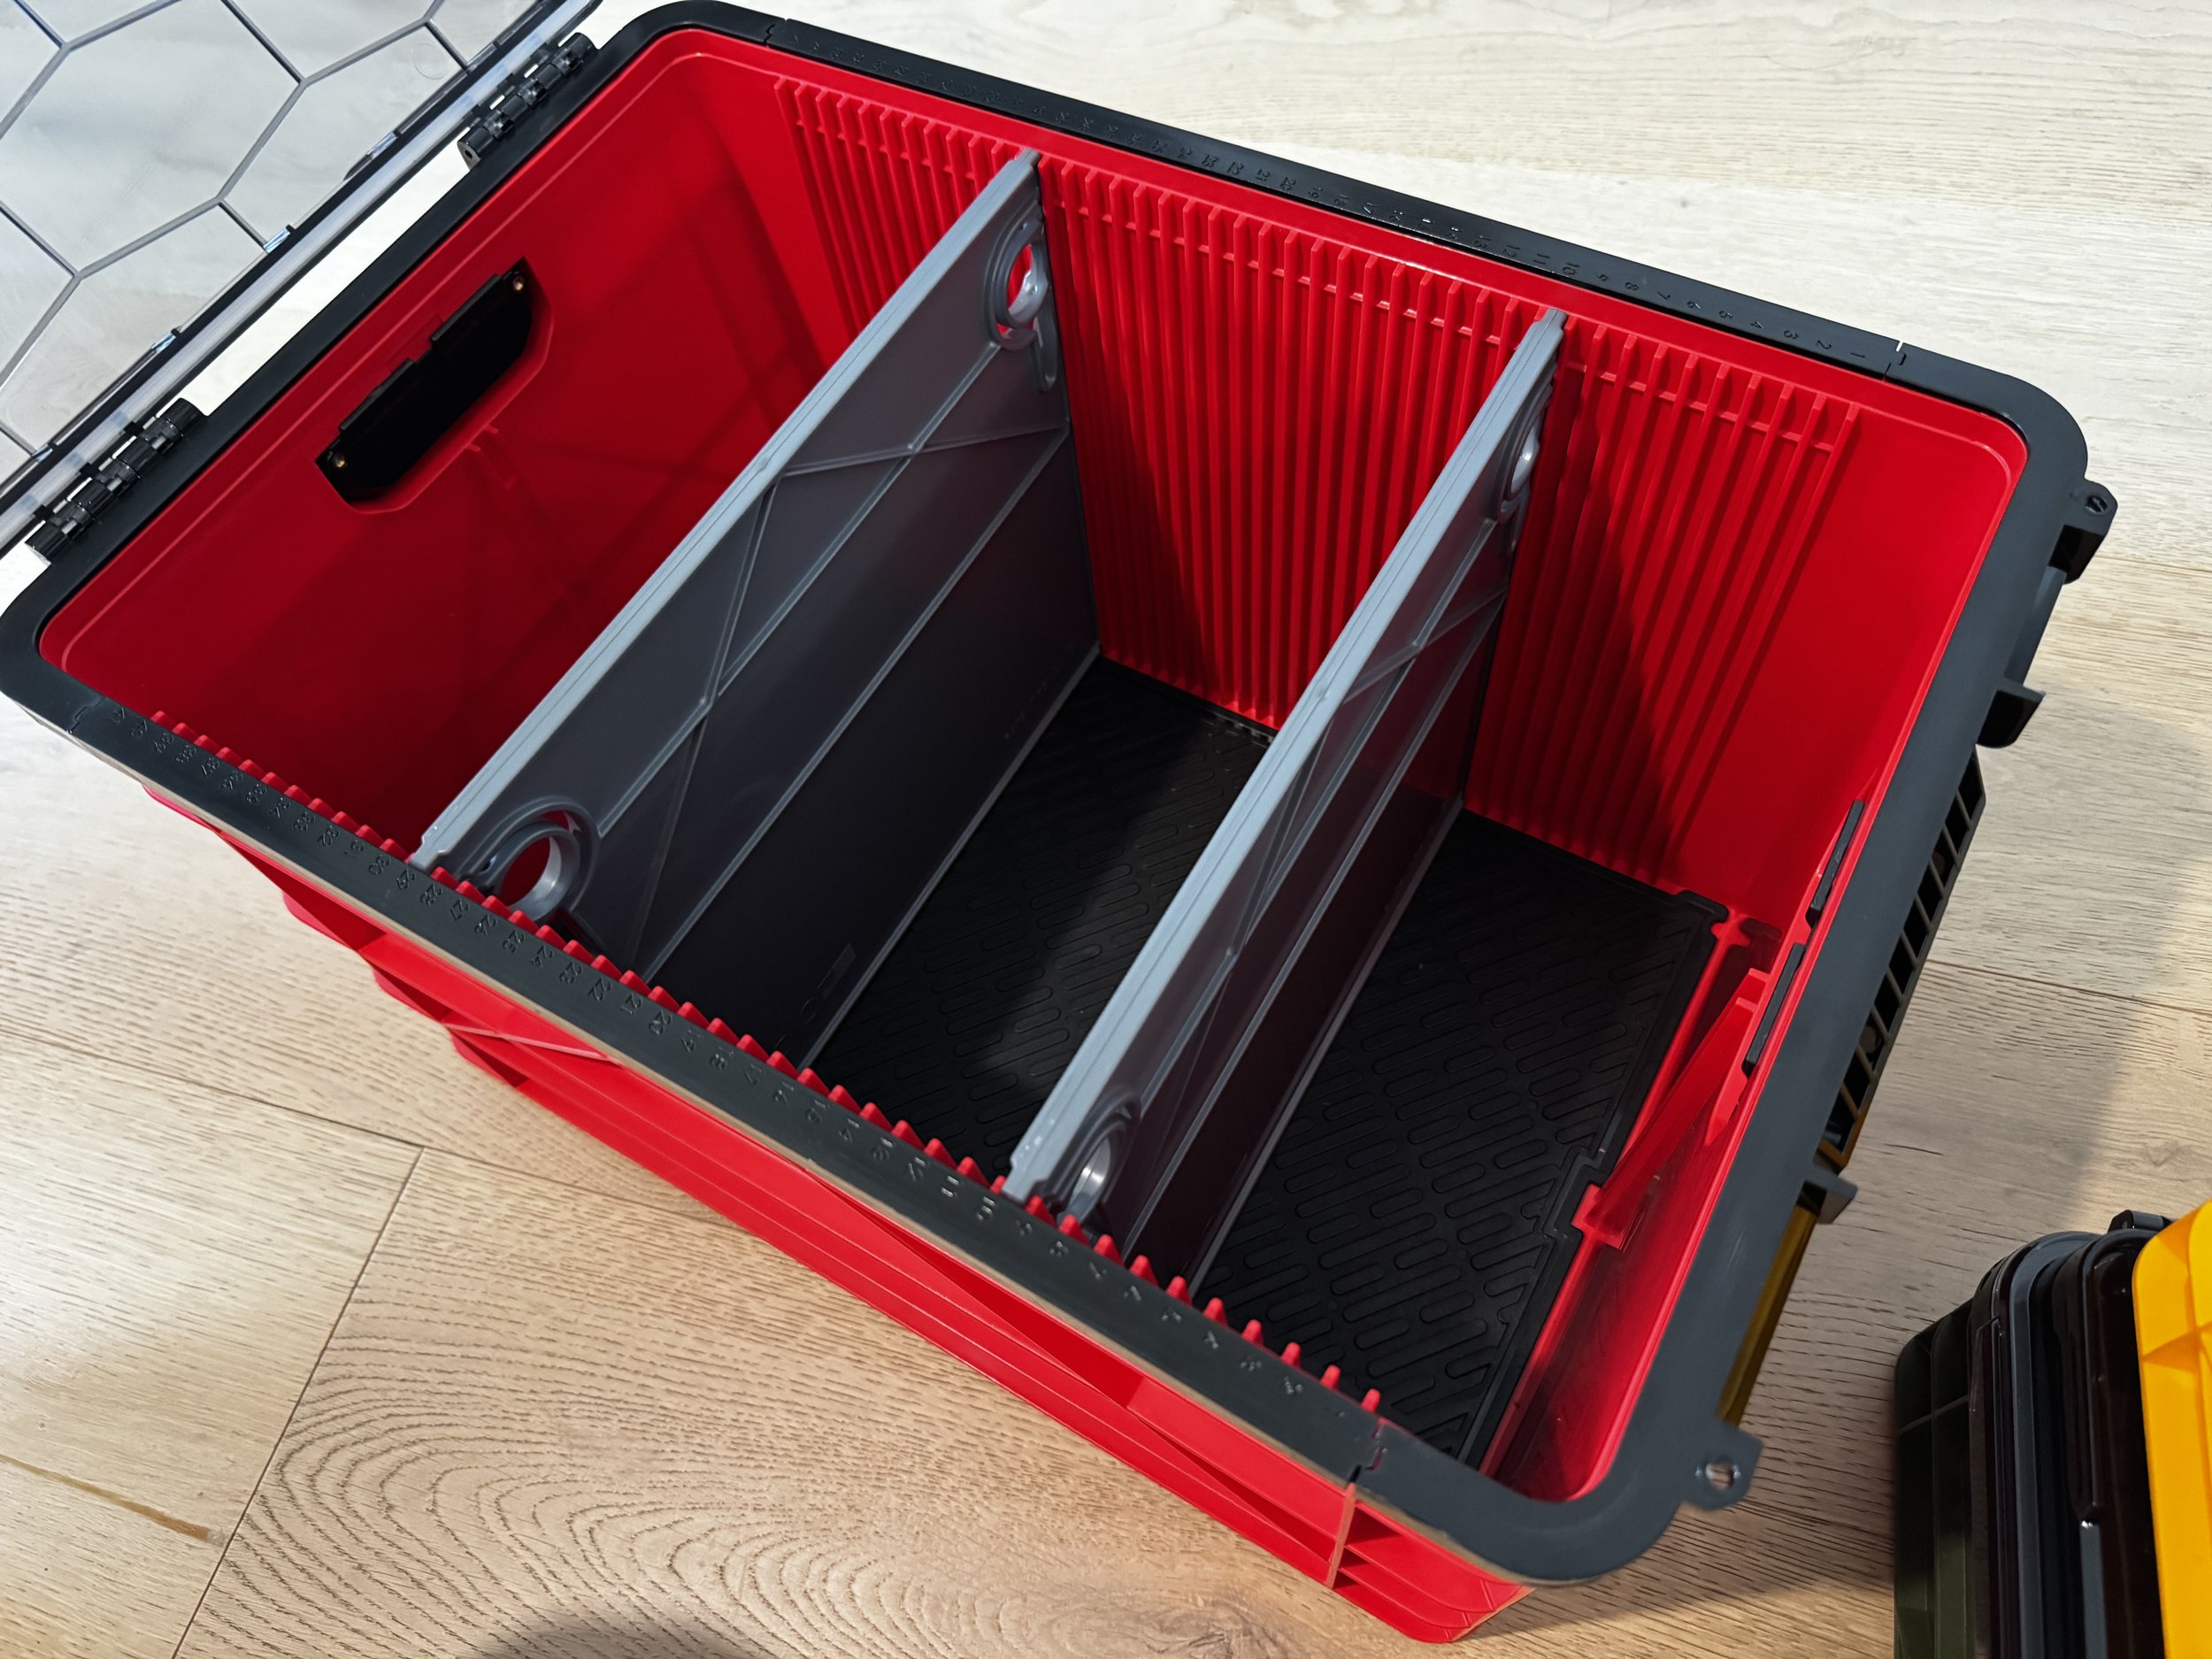
Dividers and rubber mat installed in the red crate (full size)
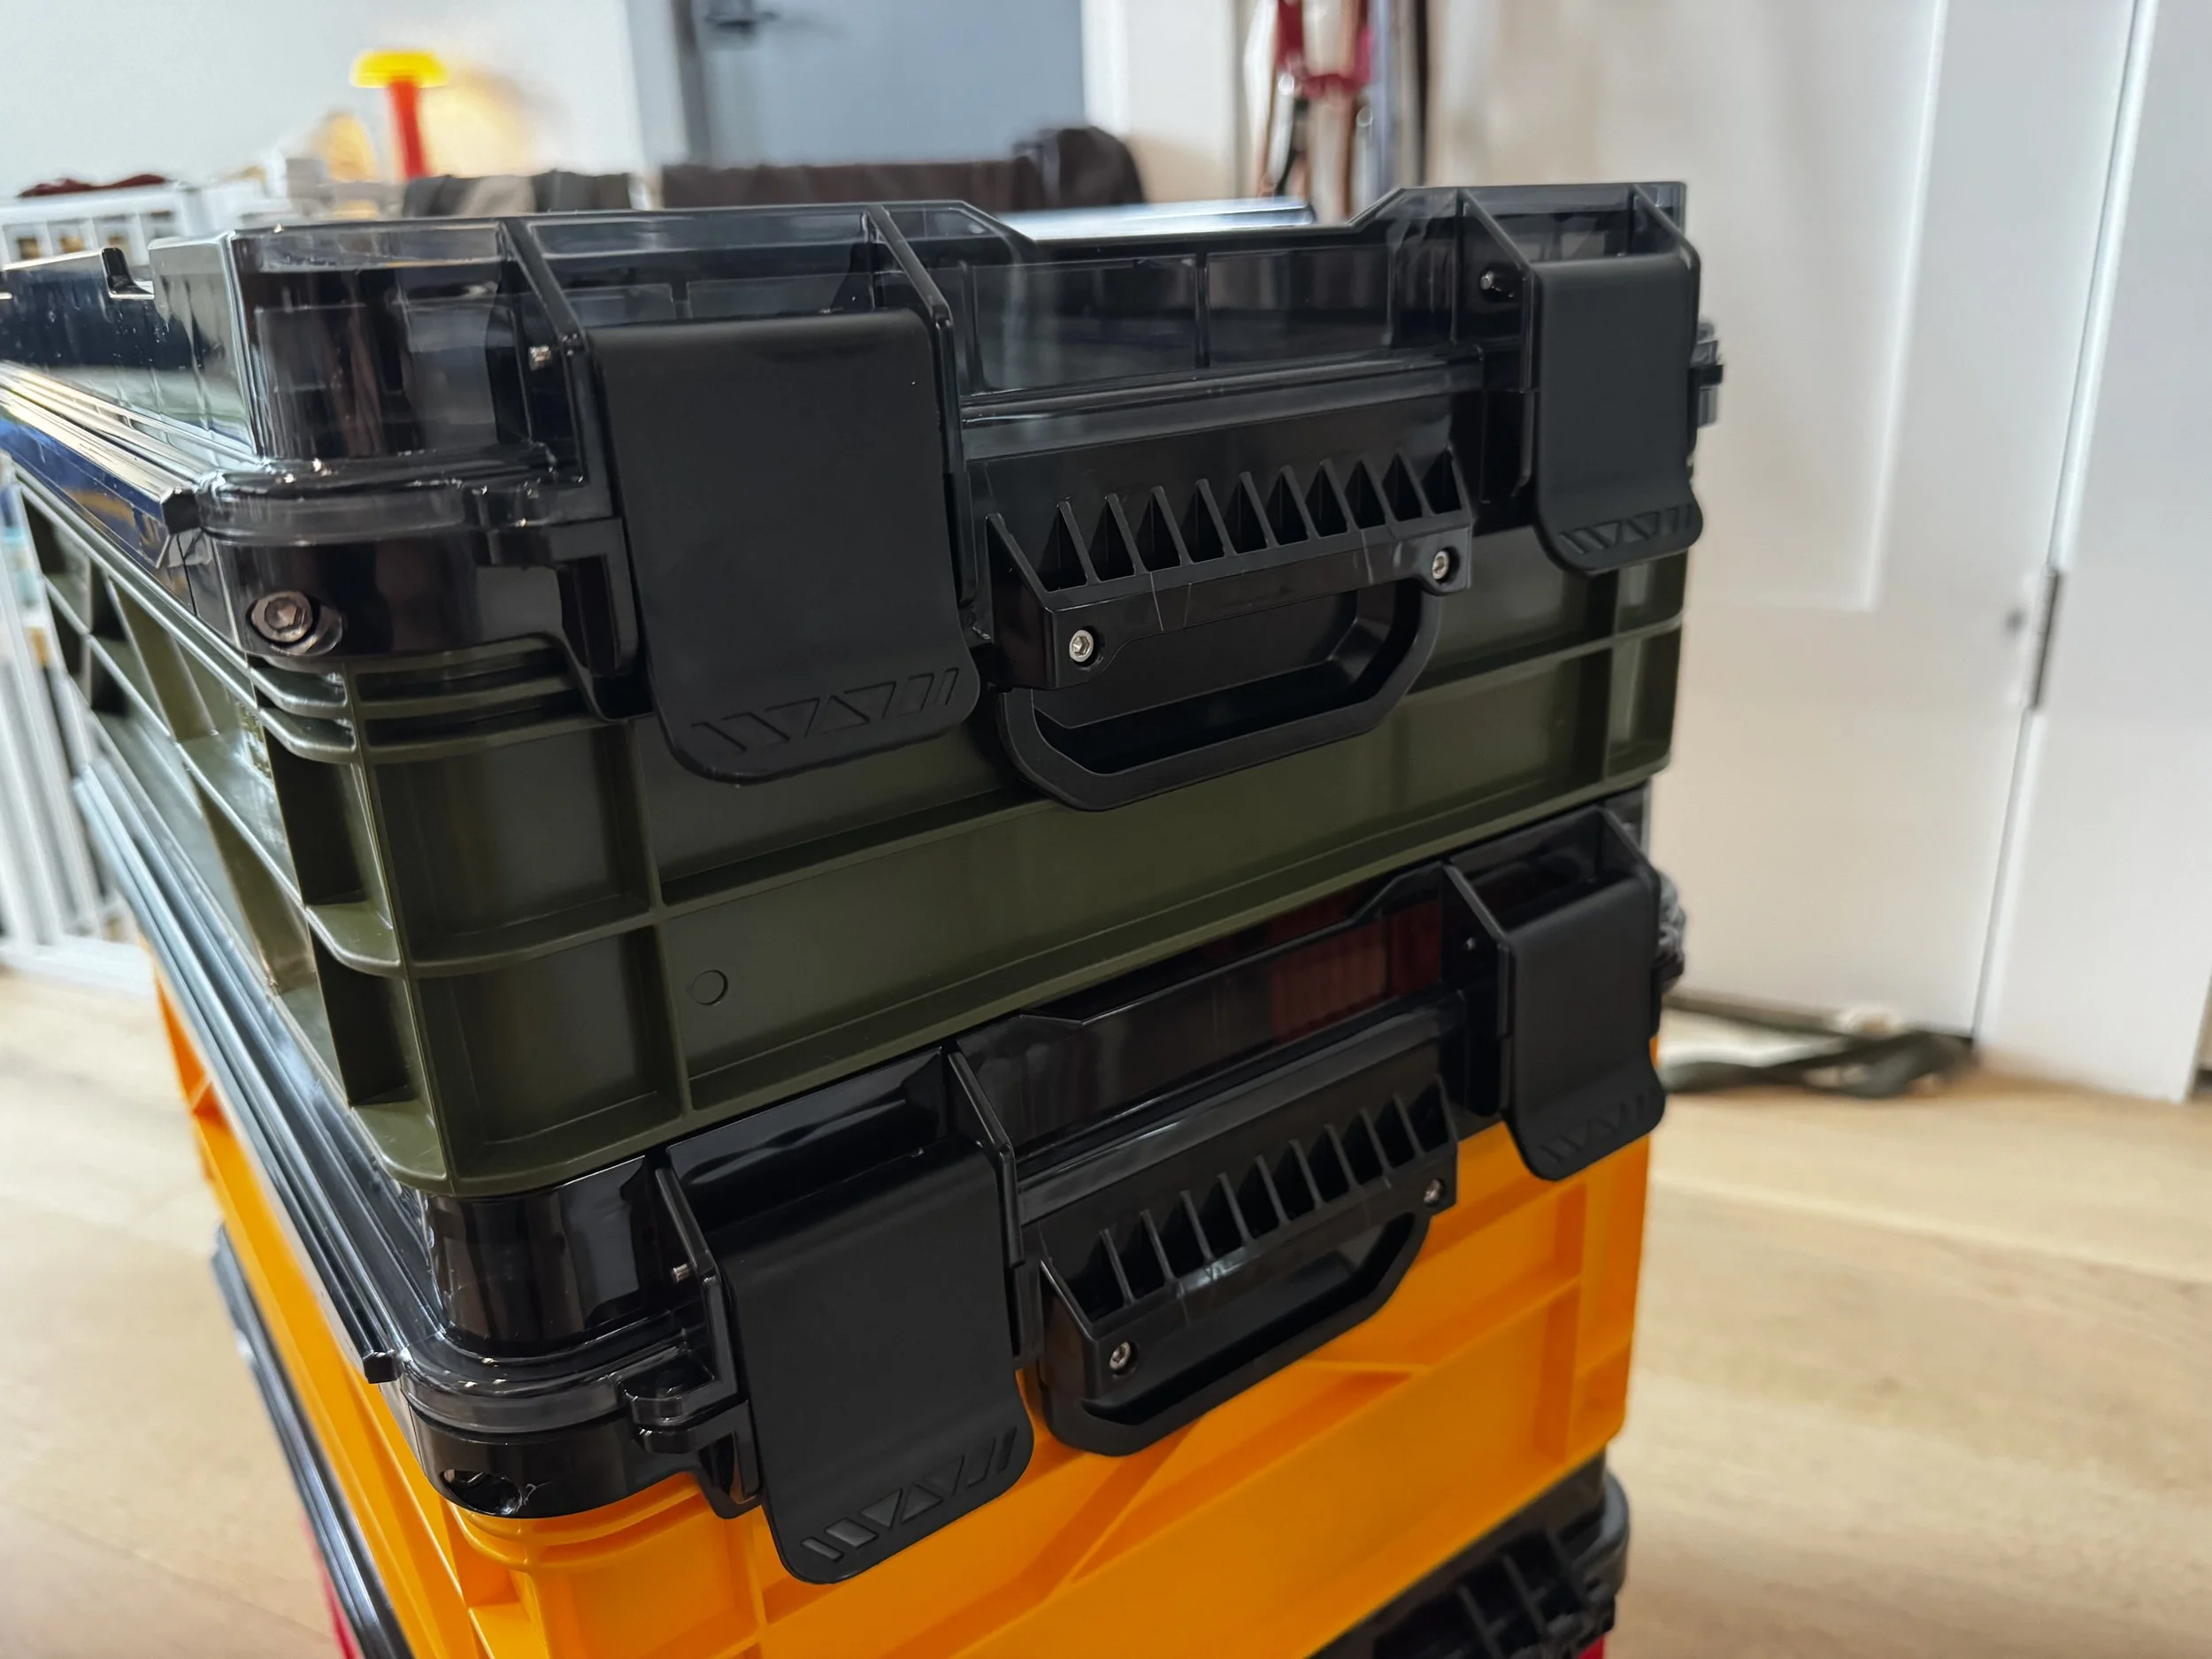
Beefy handles!